Giraffe Photography Tips
Giraffes are one of Africa’s most iconic animals and are a firm favourite when photographing animals on safari. Something about classic giraffe photographs transports a viewer straight to the bush in seconds.
But, while those striking silhouette photographs are elegant, because of the giraffes’ impressive size and extraordinarily long necks and legs, it can also be tricky to create an incredible image with a more interesting composition.
Pangolin photo host and wildlife photographer Danielle Carstens sits down with us to talk us through capturing the perfect shot. Danielle shares a few of her own photographs as well as some from the rest of Pangolin Photo Hosts to demonstrate different styles of photography and inspire you for your next safari with us.
Want to learn more about wildlife photography from Danielle and want to join her on a Photo Safari please see the options at the bottom of the page.

What we chatted with Danielle about:
Initial thoughts on giraffe photography • Different styles of photography
Lighting techniques • Creative approaches • Best giraffe locations • Join Danielle on safari
Giraffes are tall and lend themselves well to vertically orientated photos (portrait) when you see them close-up. For wildlife photography, they also make great silhouette subjects, which I’ll elaborate on later.
They are often grazing, and one needs to practice patience to get a photo where they look at the camera, as eye contact is always better for a strong portrait. It’s essential when taking giraffe pictures not to cut their feet off in the photo if you are aiming at getting a full-body portrait.
If you are not going for a full-body portrait, try and crop in quite tightly for a head and neck photo. Also, do not cut the photo off at a joint – i.e. do not cut at a knee. Instead, crop the photo between two joints for a more natural look.
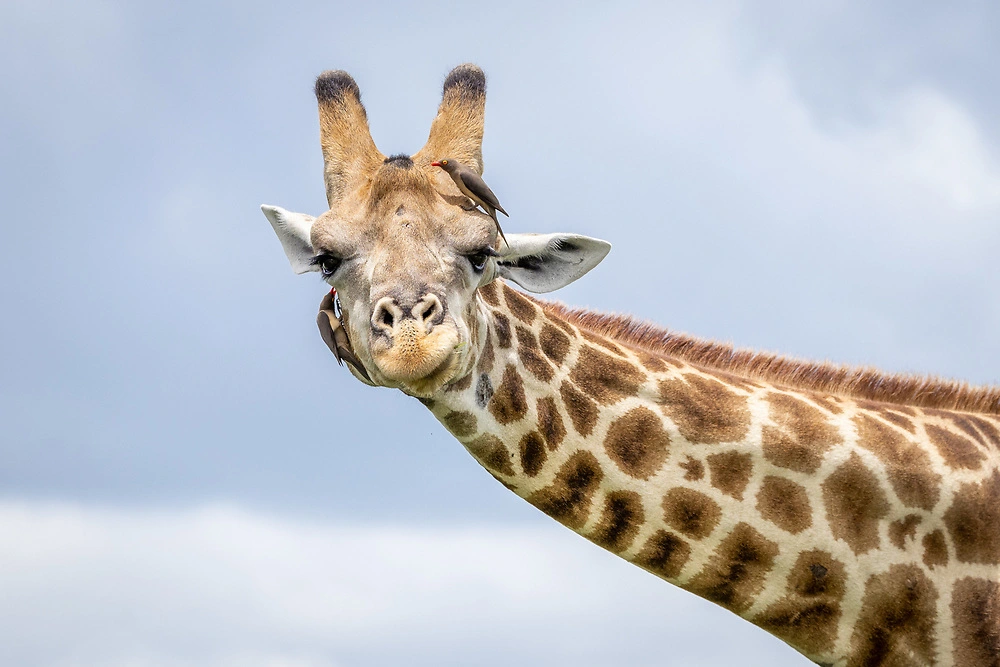
Often they are against the sky when you see them close up, in which case you do need to expose them accordingly. If you are using a new mirrorless camera with animal tracking, ensure that the tracking does not focus on the giraffe’s ossicone (horn) or the ear’s dark spot – this often happens. Always have an old-fashioned “static” focus point option available, just in case.
Action and interaction always make for better photos – which again requires loads of patience as giraffes can take their time with most of their behaviour. However, something to keep in mind is that mothers and their young often touch heads together, so make sure to look out for this and be prepared.
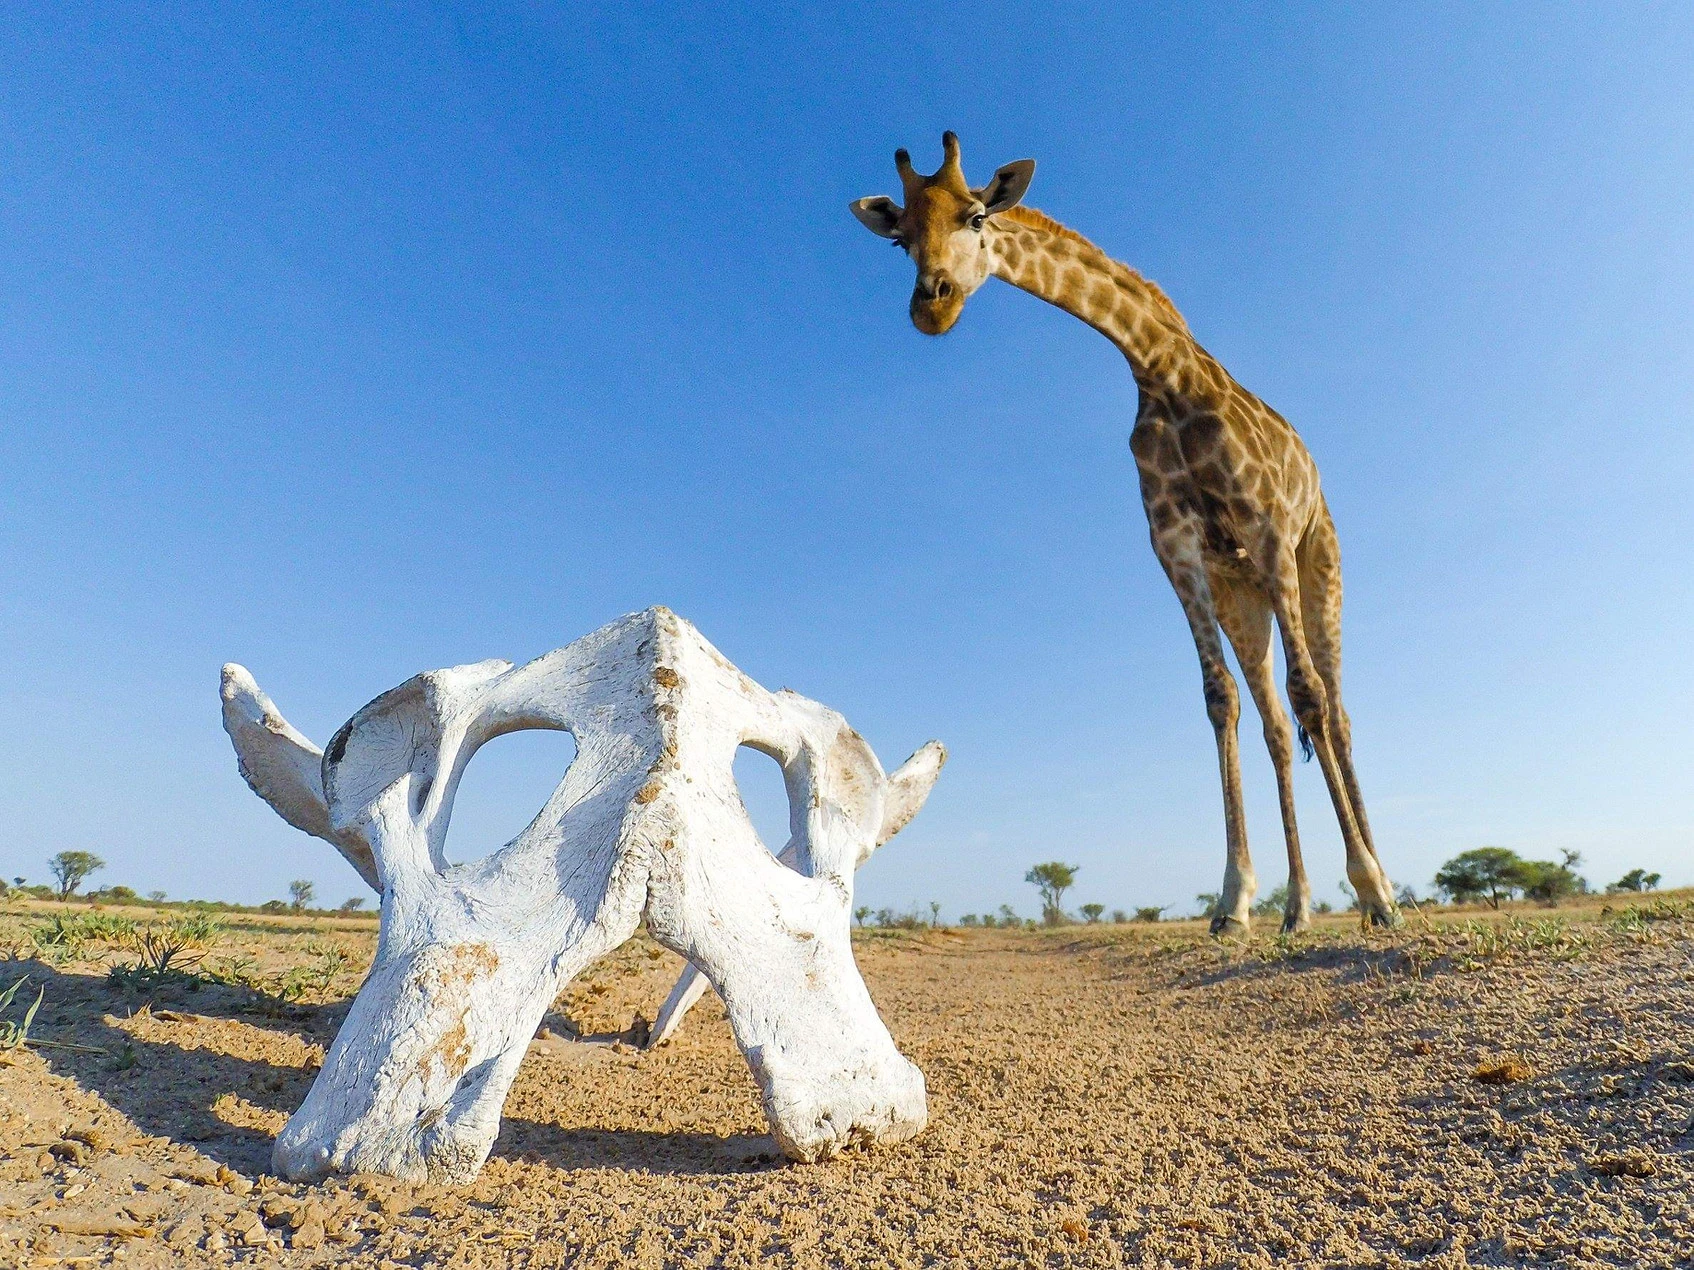
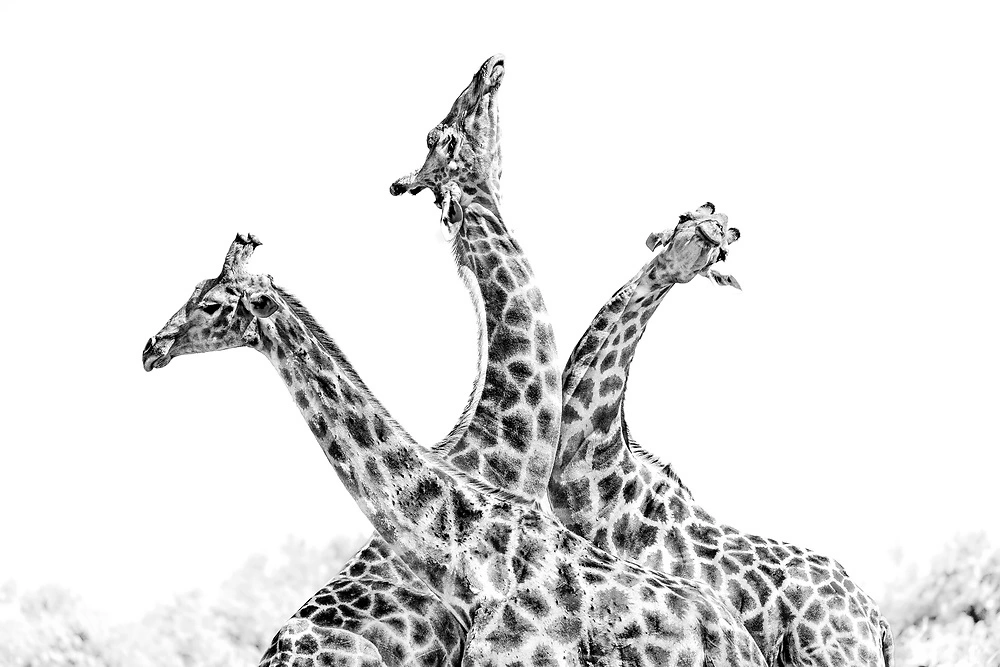
Giraffes are excellent subjects for getting creative with photography. For example, if they are framed against the sky (without distractions), they are beautiful when high-keyed in black and white due to their spots. You can shoot this in landscape (horizontal) or portrait orientation photo, which generally works best when leaving a negative space around the giraffe. You can get an incredible high-key effect when you overexpose 1 to 2 stops with a giraffe in the shade.
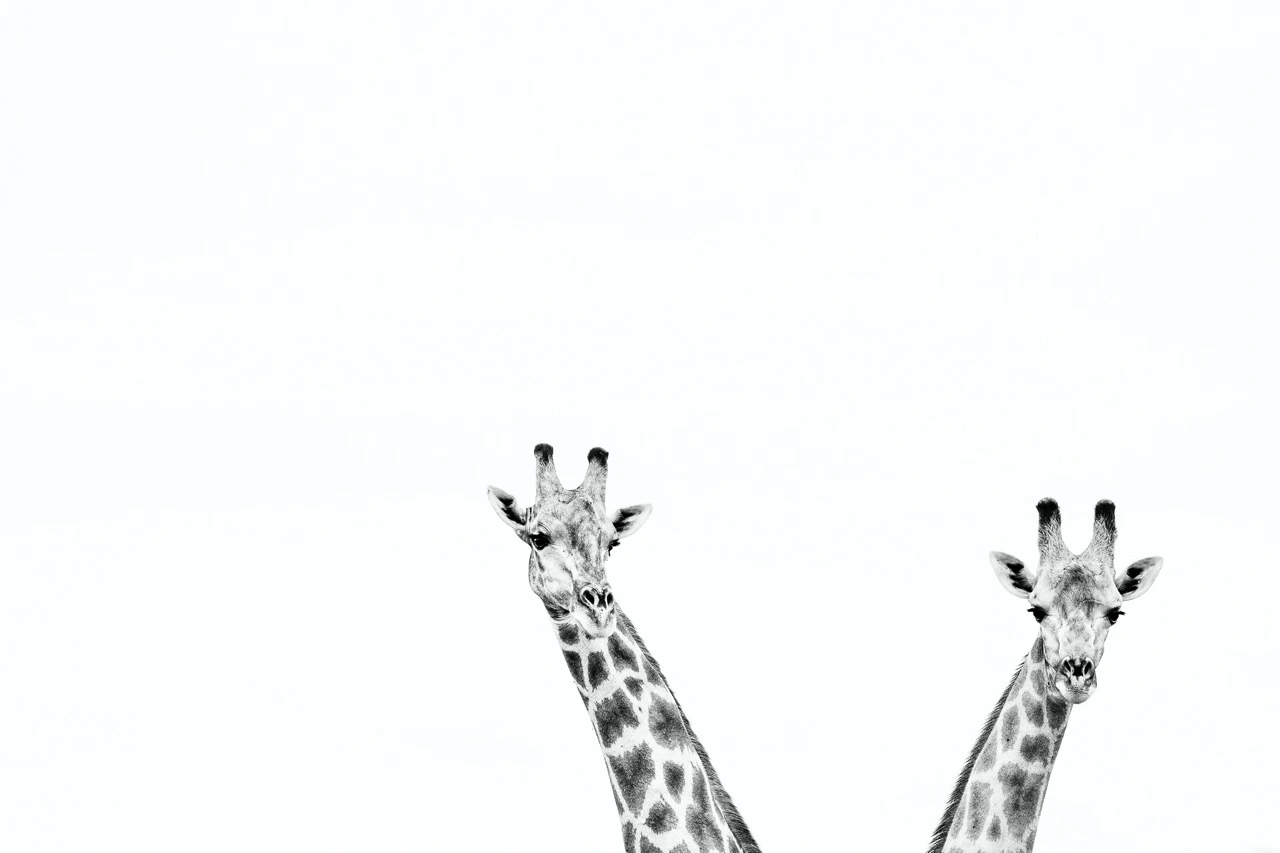
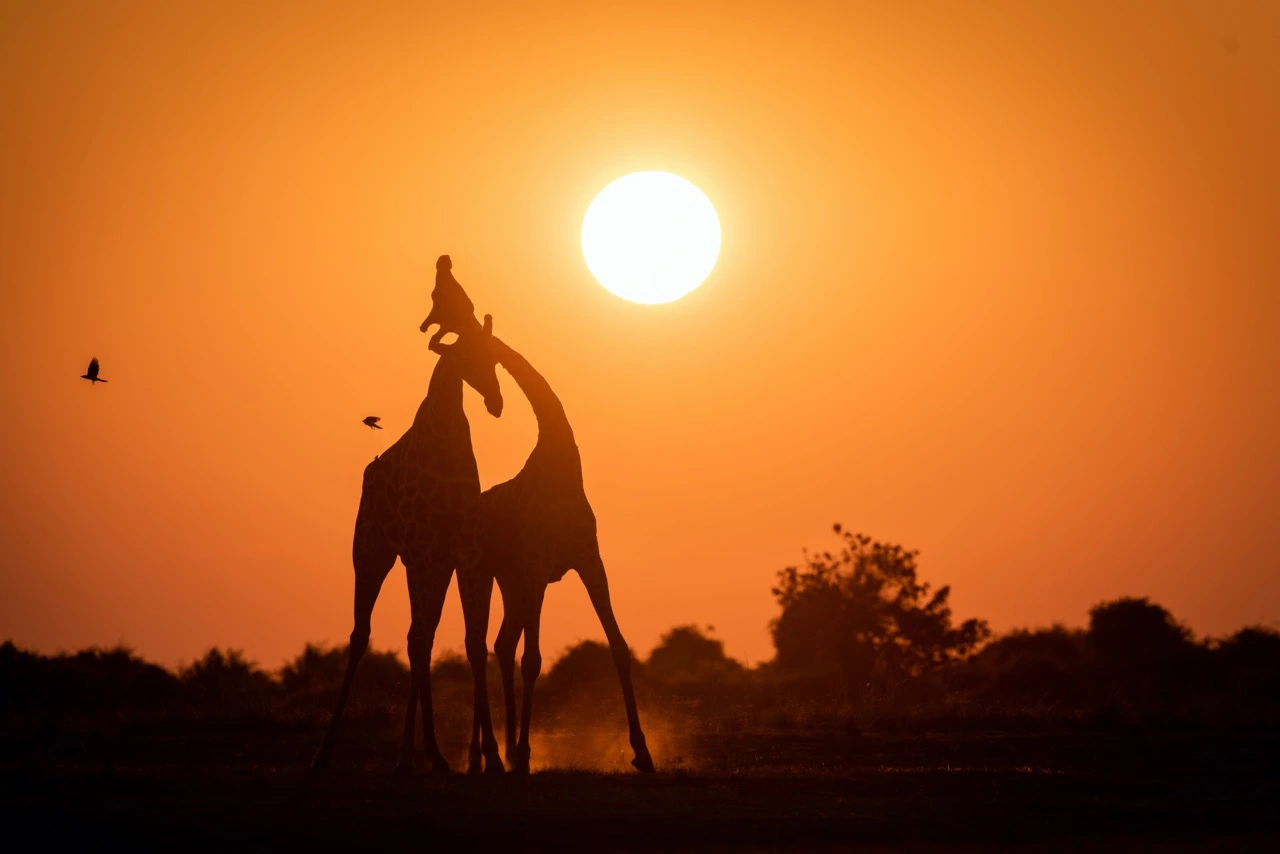
As mentioned earlier, giraffes are classic animals to photograph as silhouettes in the sunset. They also tend to kick up dust as they walk, which makes the backlighting even more dramatic. In addition, they often walk in a line, and this separation and repetition work very well from a compositional point of view.
When giraffe bulls challenge each other and fight (necking), this makes for great behavioural photography – they hit each other using their necks, and even though it is often only “play-fighting”, it can also get quite serious. Try getting a close-up of this interaction as their unique patterns fill the frame beautifully and create an incredible abstract photo.
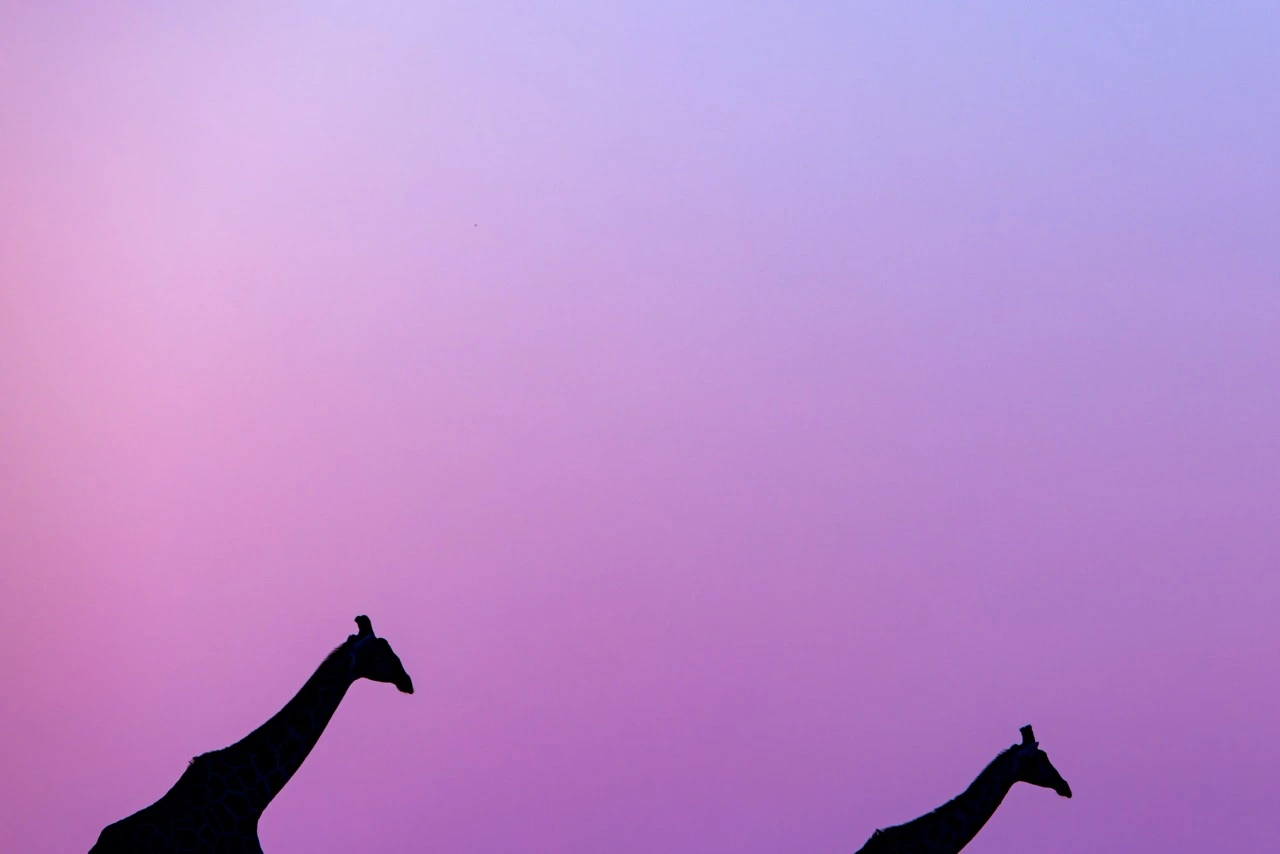
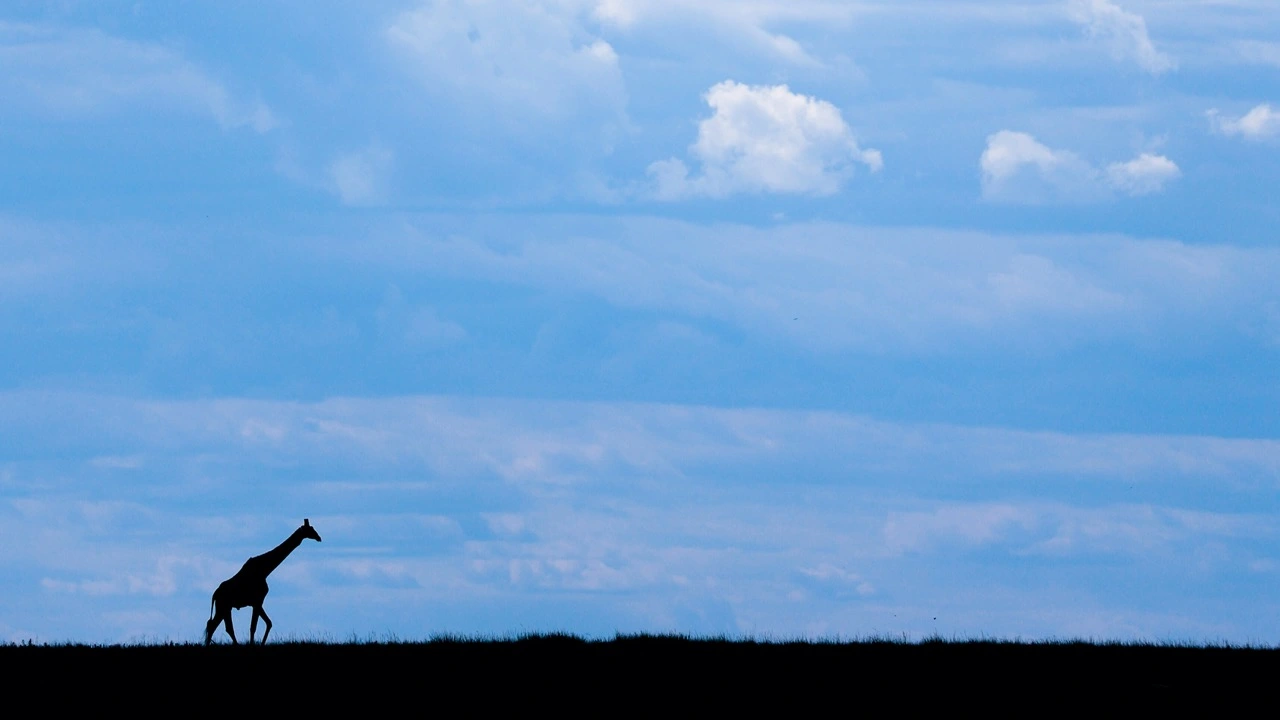
Also, remember making large animals look small is an effective photo technique. See how far back you can go, and photograph them as small subjects with a cloudy or dramatic sky behind.
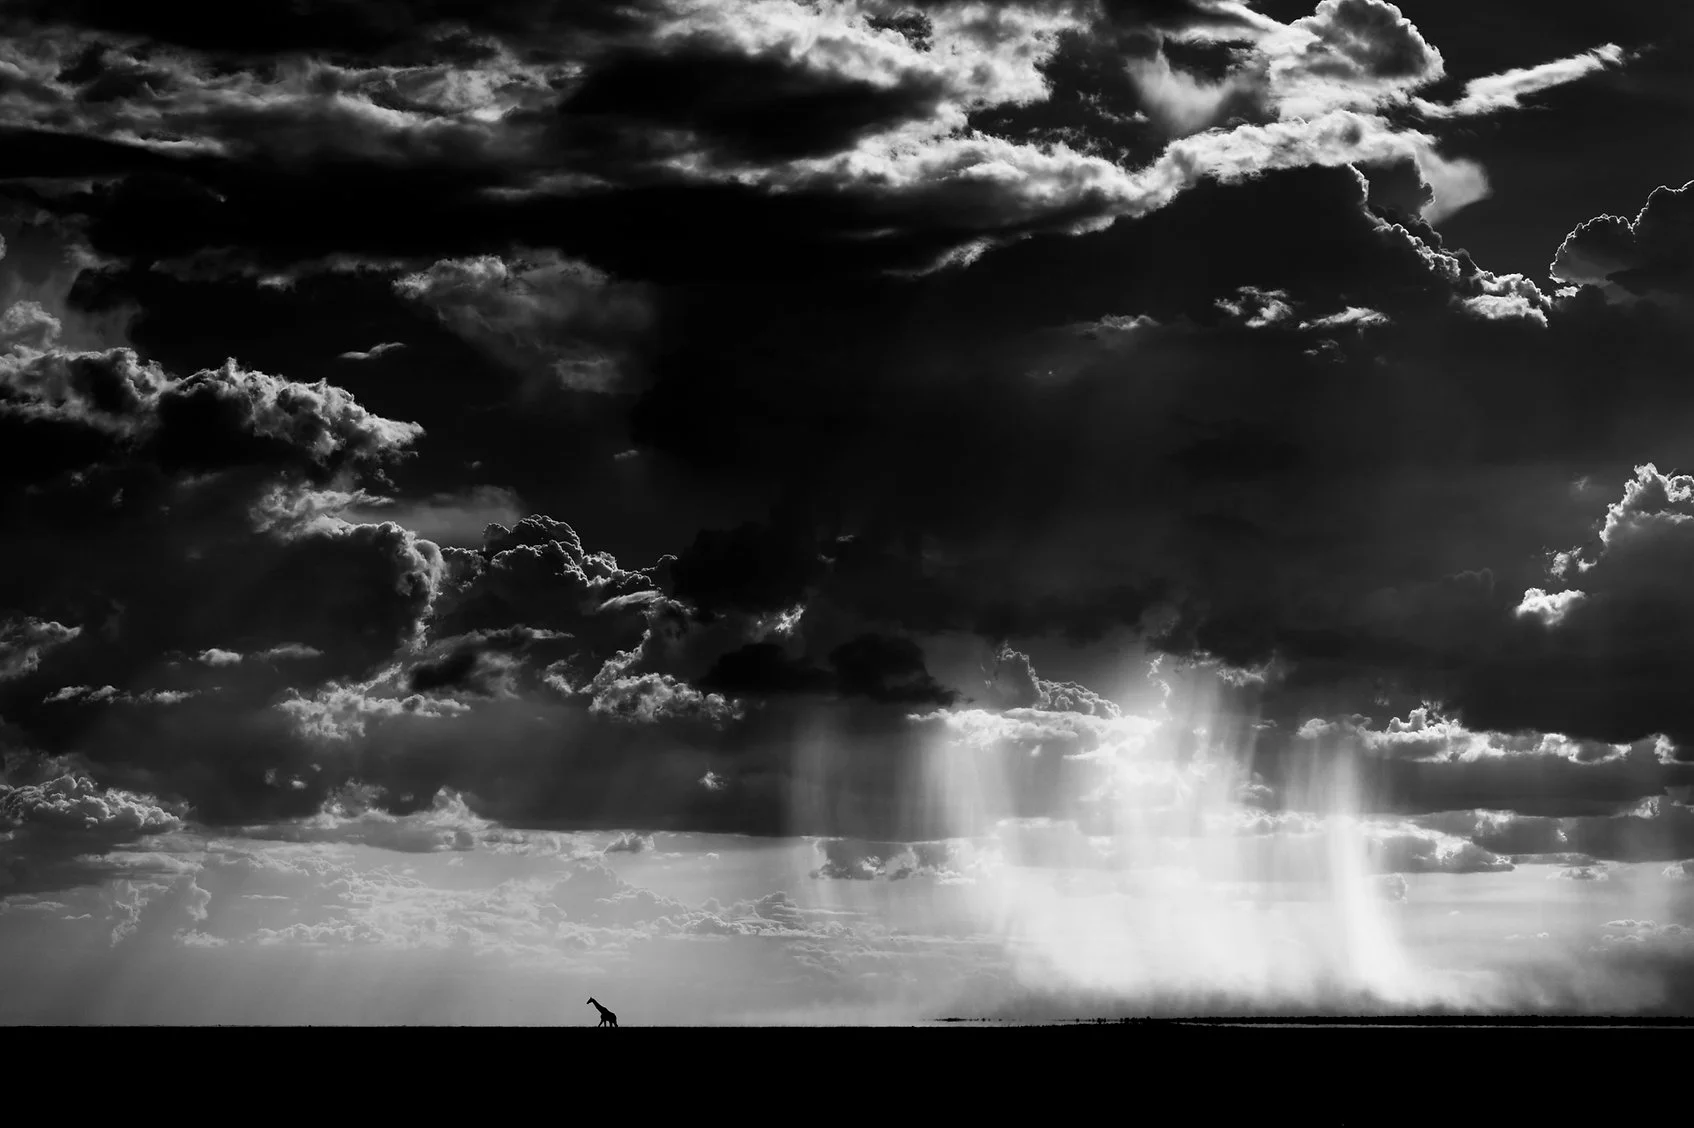
Giraffes have a particular way of lowering themselves to get to the water and make for great photos when you catch them at a full frontal view. They form a triangle with their legs out (and in photography, we like triangles!). Once they are down, see if you can catch their reflection.
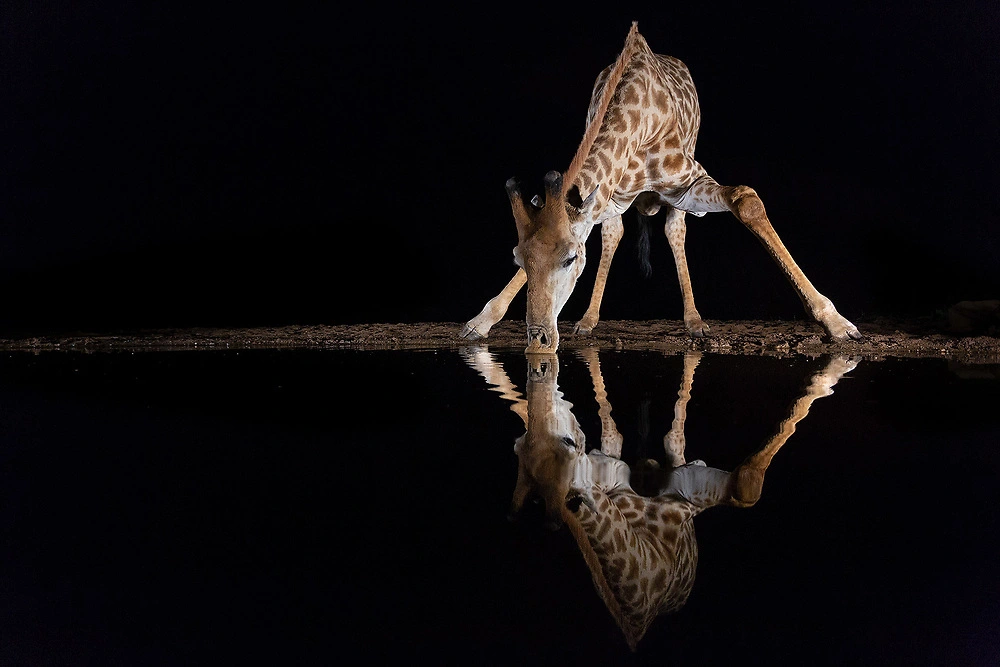
The moment to catch is when they lift their heads after drinking – there is almost always a great big swirl coming from their lips. Use a fast shutter speed (1/2000s) to catch the droplets! As mentioned before, necking make for great photos and interaction between an adult and a little one. You can also try creating a bokeh effect to create a soft and subtle photo with giraffe.
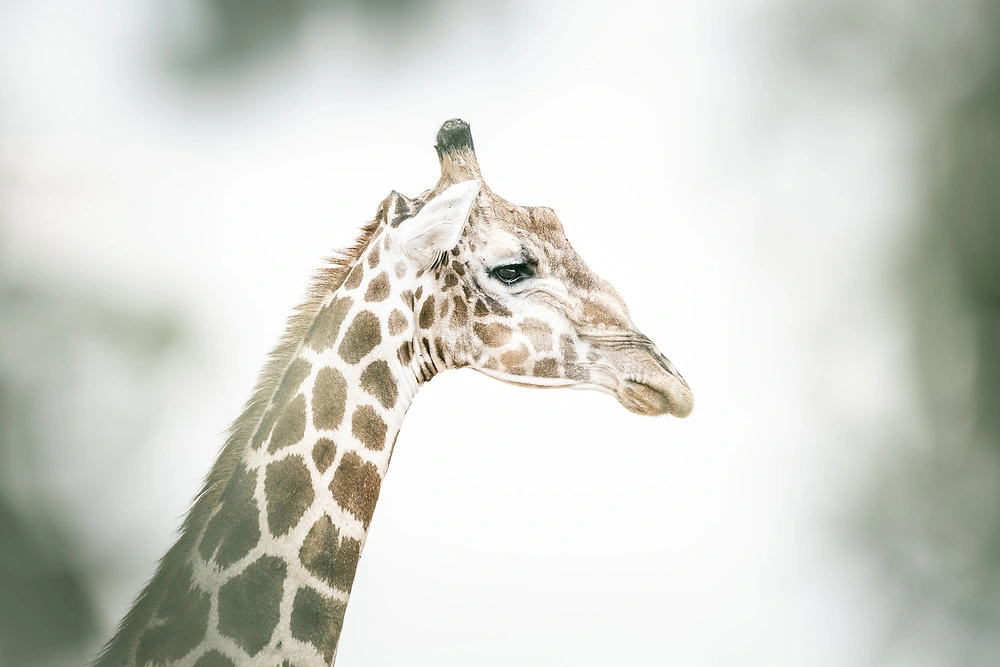
Giraffes have light and dark patches, which can be tricky when it comes to exposure. When it comes to camera settings, I suggest using matrix/evaluative/ESP/multi-metering, as you will get inconsistent results when using spot metering.
Then make sure to look at the background – giraffes are light in general and will look overexposed/too bright against dark foliage. You would need to underexpose in this case. When the giraffe is against the sky, you will have the option to create a silhouette with camera settings of 0 exposure compensation or a high key (+1 or +2 exposure compensation). However, always keep looking at the highlights on the giraffe when you overexpose and make sure you don’t blow them out.
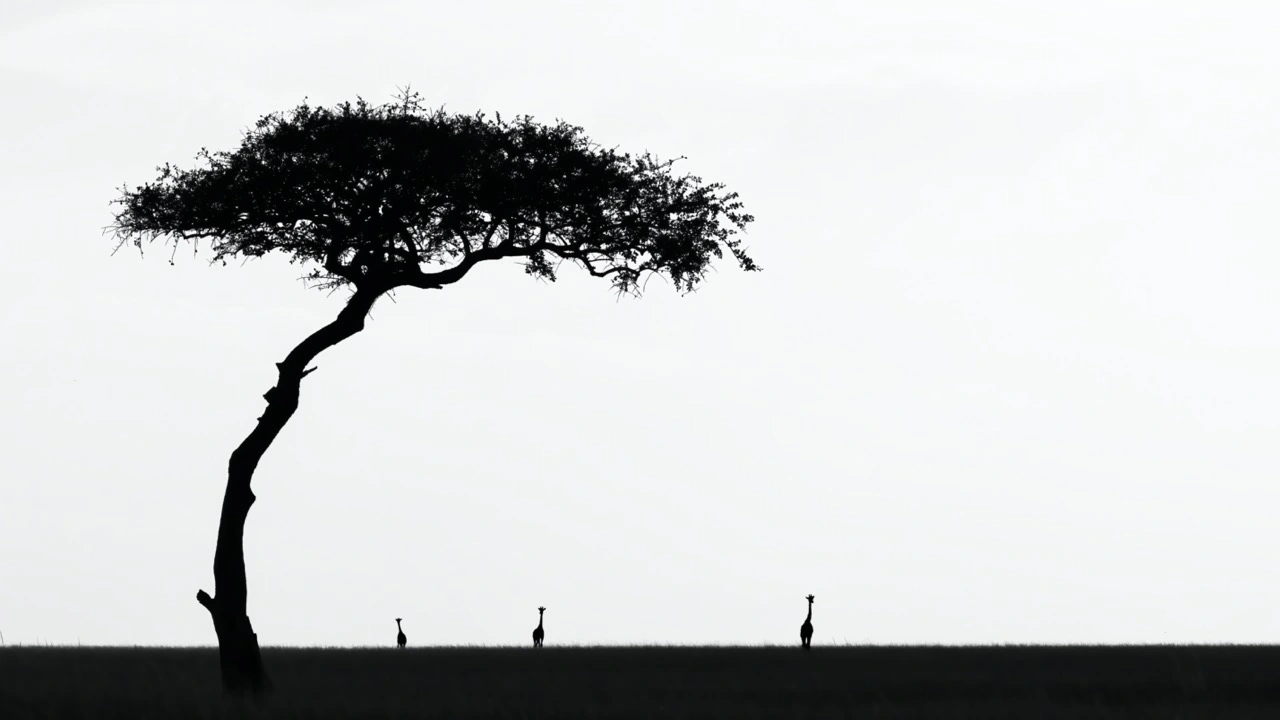
It is important to mention that there are four types of giraffes, and they can be found in sub-Sarahan Africa. They are the northern giraffe, southern giraffe, Masai giraffe and reticulated giraffe. The northern, Masai and reticulated giraffes are found mainly in East Africa, Kenya’s Masai Mara, and Tanzania. The southern giraffes live in the savannahs and woodlands of northern South Africa, Angola, and northern and central Botswana, like the Okavango Delta and Kalahari, Zimbabwe, Zambia and Mozambique.
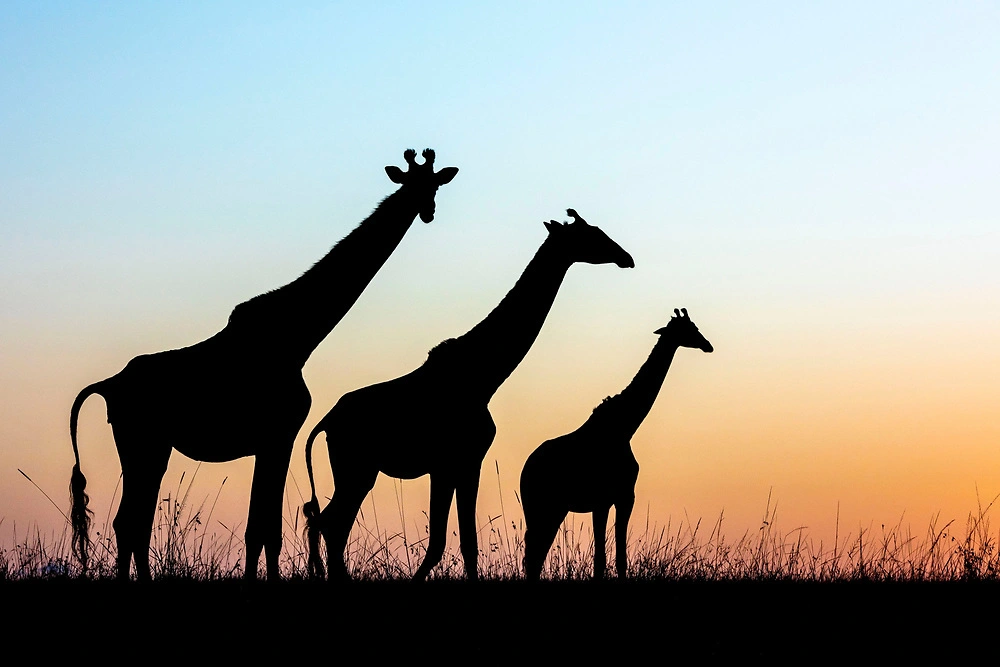
Let us know in the comments if you have any questions! Or join us on one of our photographic safaris in Botswana or Kenya to photograph these unique creatures.
Leave A Comment
You must be logged in to post a comment.