How to cull photos like a pro!
How to cull photos like a pro!
Quick links
Importing a sequence to Lightroom • Rejecting the first images • Refining your selection •
Colour rating • Star rating • Quick edits • Adjustments • Final steps
Pro Lightroom tips for faster results
Pangolin Photo Host William Steel shares his step-by-step process of culling photos you have taken in a sequence! William’s preferred software for image editing is Adobe Lightroom, so using that, he will show his 7-step process demonstrating how he went from 500 images down to the best 1! In addition, this blog will cover importing files, filtering images using the reject and pick tools, and making the most of colour labelling and star rating.
As we all know, getting a little snap-happy on safari is easy, especially when using a camera with a high frame rate! That’s alright, but it can lead to weeks or even months of work trying to sort through and edit the thousands of photographs you have taken. So William wanted to show you his easy guide to speeding up this process!
Personally, William loves a one-stop shop when it comes to his editing process. While many different softwares are available, Lightroom allows him to curate a library of images and edit his photographs.
New to Lightroom? Check out Janine’s FREE beginner course below.
To import images, open Lightroom, click on the Library menu and press import at the bottom left corner. When importing images into Lightroom, make sure you have the “don’t import suspected duplicates” as well as the “build smart previews” selected and set to “standard”.
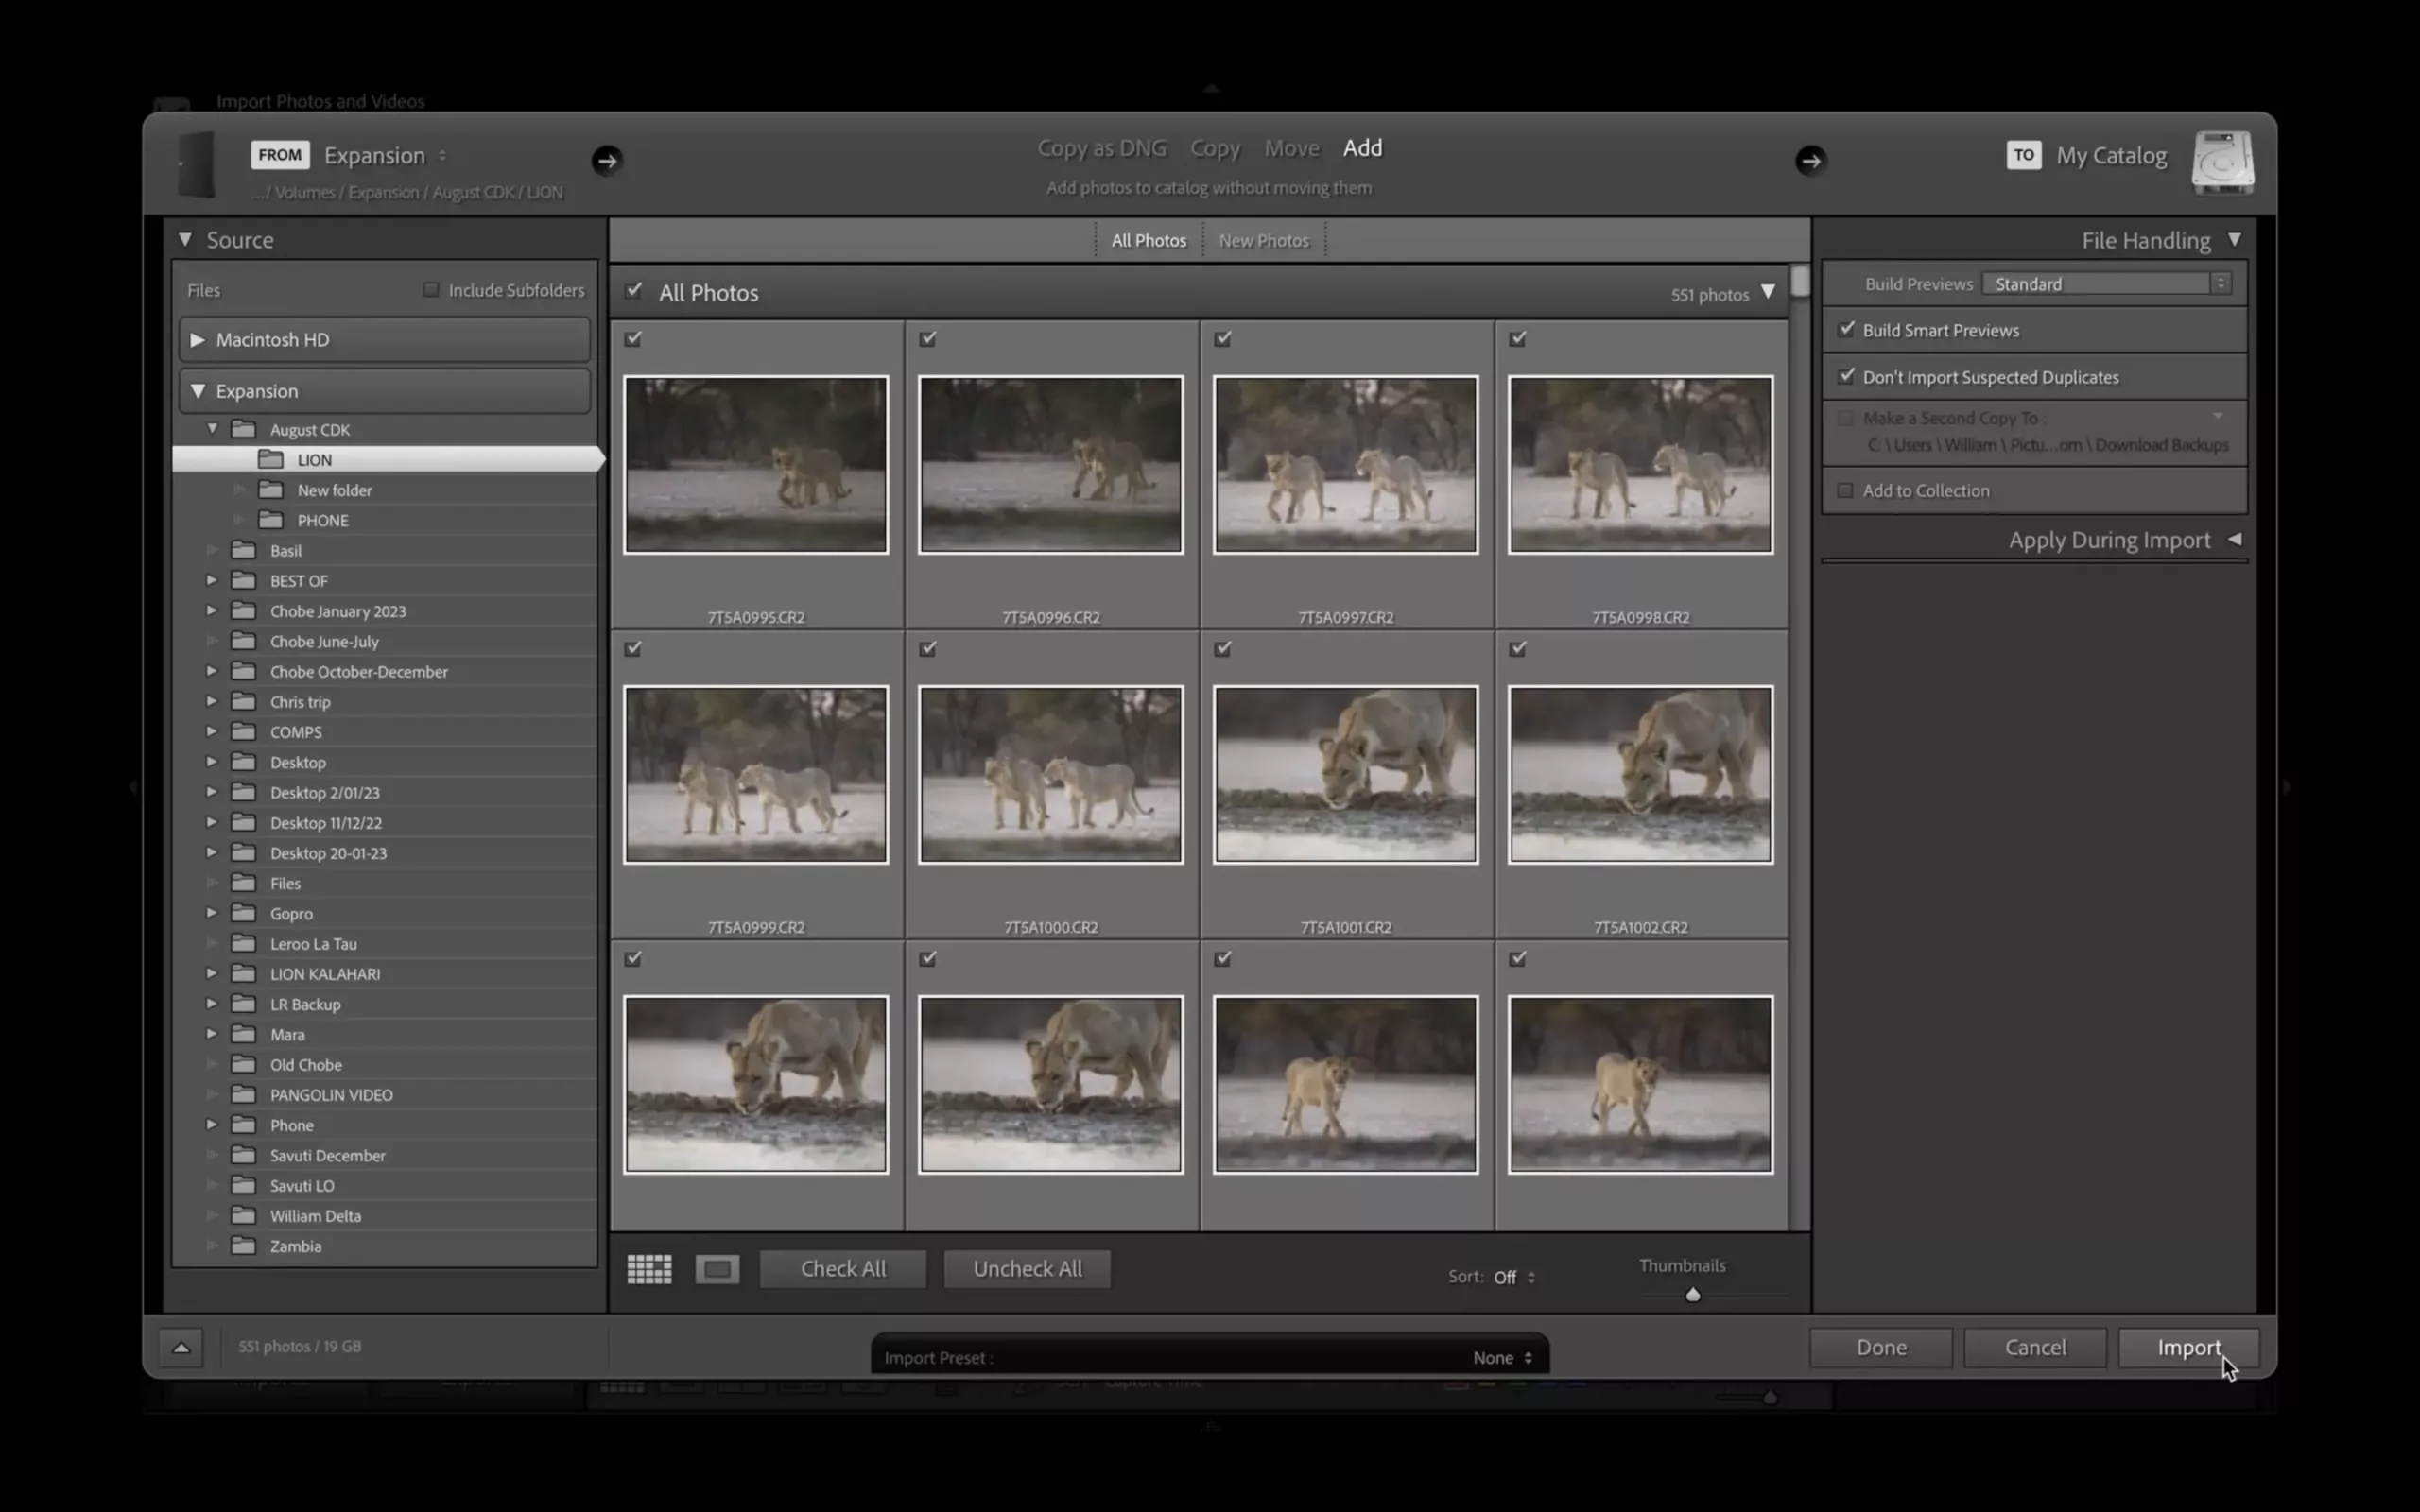
Smart Previews are small, low-resolution versions of your photos. The benefit is that images will load much faster than usual, saving you the frustration of waiting. In order to build smart previews, Lightroom will take a little bit longer to upload the images but once all your images have been imported, you can start the culling process.
To learn more about managing your archive, check out Janine’s video on managing archives in Lightroom below.
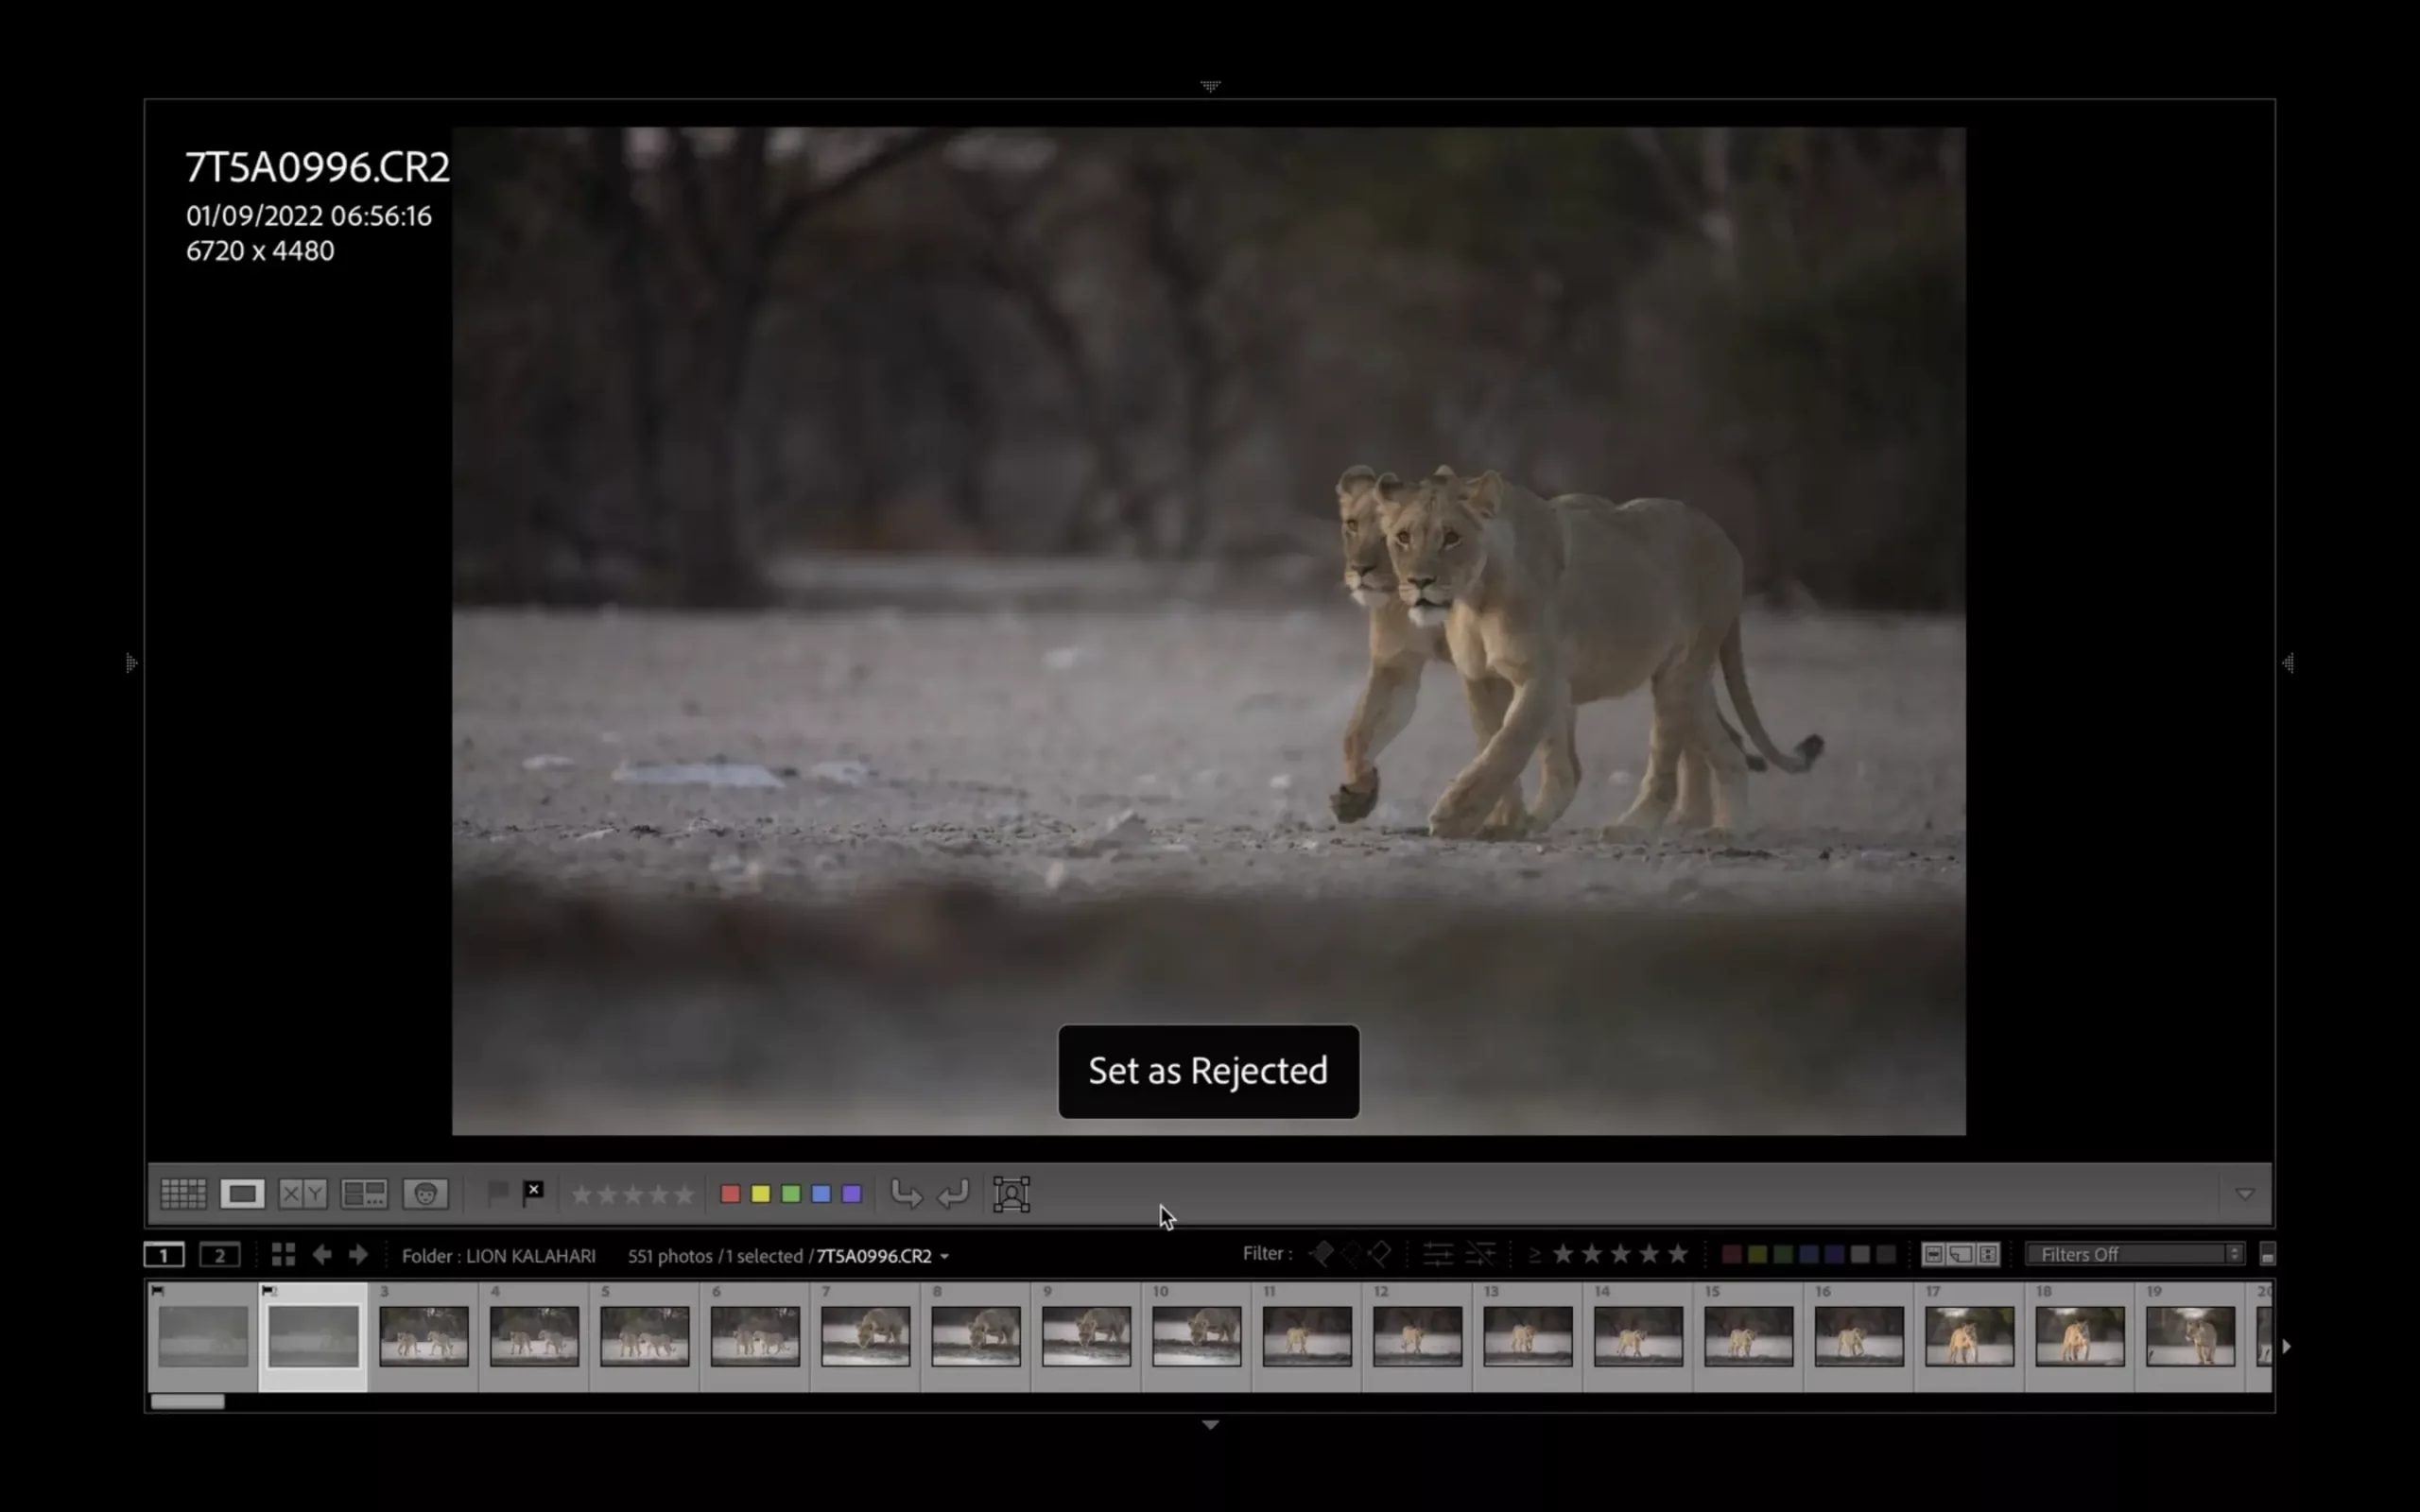
In this first round of culling, William looks for images that are out of focus or have obvious technical issues. Simply scroll through the images while pressing x to reject or p to pick. However, William finds it easier to filter through the rejected images.
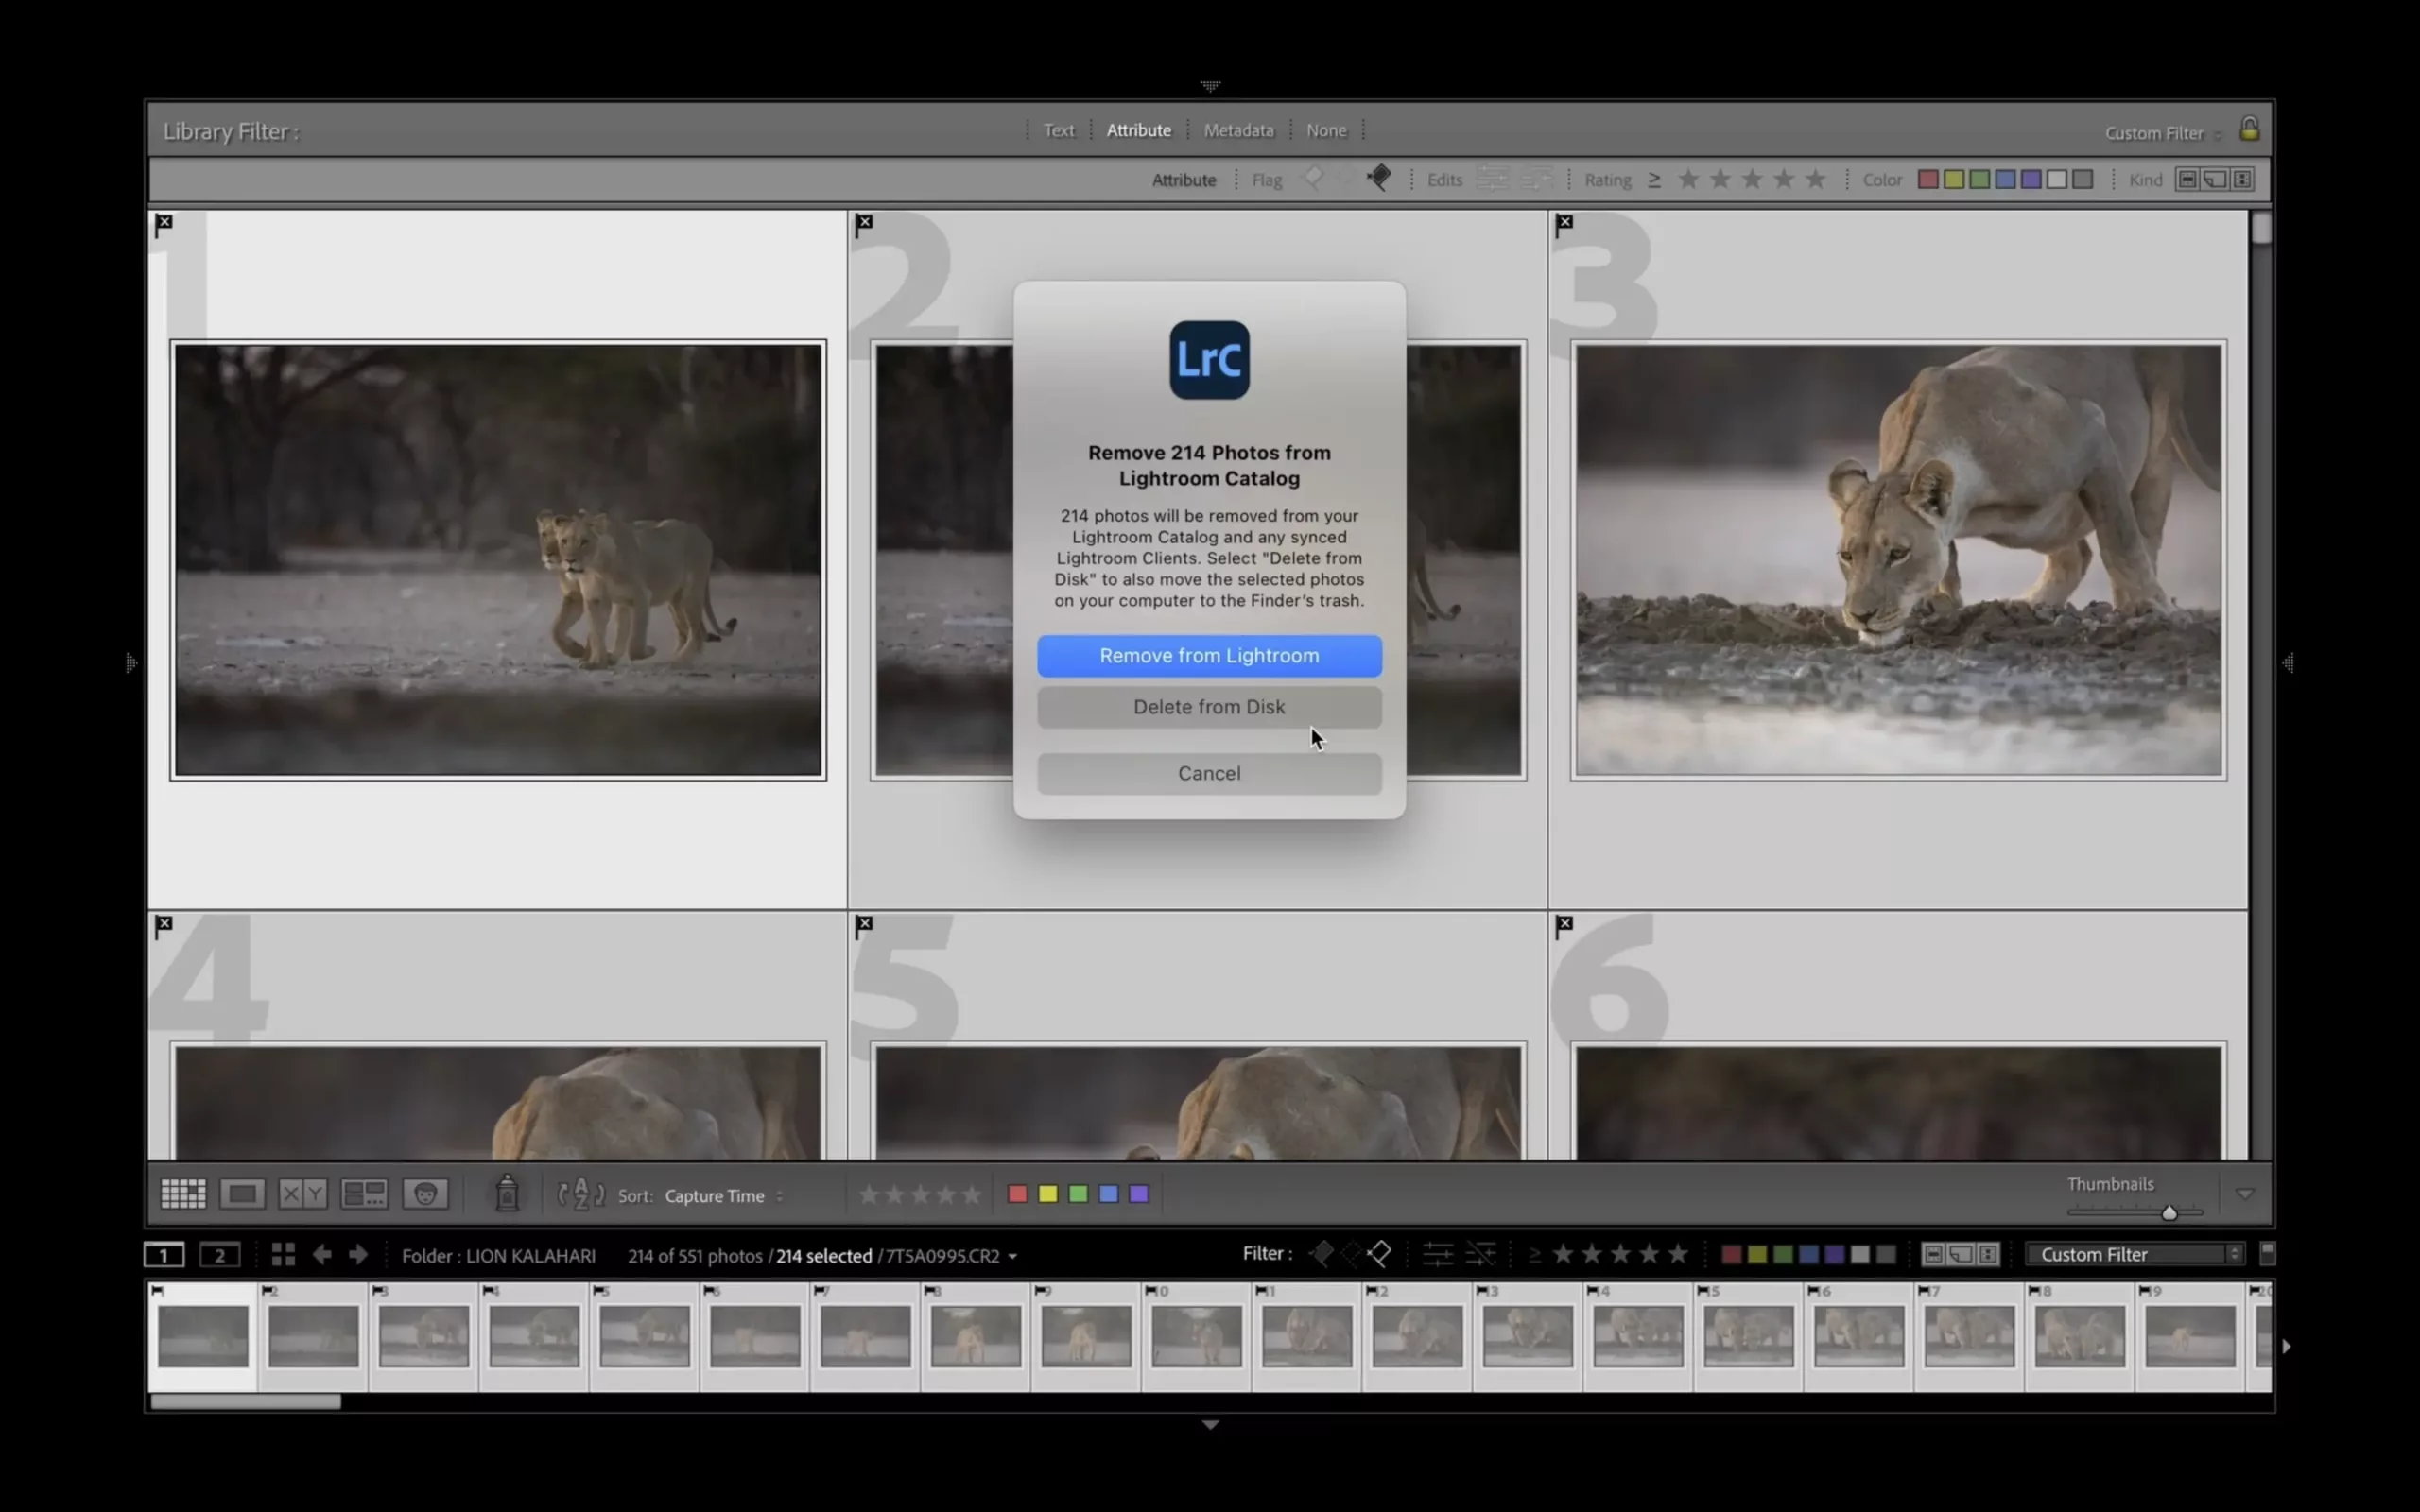
Once you have sorted through all the images, you can go to the bottom right and filter the selection only to show the rejected images. You can then simply select all and delete these.
You have two options when deleting, either “delete from disk”, which removes the original file or “delete from Lightroom”, which removes the file from your Lightroom library. If you don’t want these files taking up valuable hard drive space, delete them from the disk. Just make sure you have only the rejected images selected! If you’re watching the video, you’ll see that with just this step alone, William went from 551 images to 337.
In this step, you are simply repeating step one, but this time looking more closely at the composition of the images. You want to reject images that you think are framed, poorly composed or have obvious technical issues. It is worth remembering that you can crop images!
So don’t be overly selective at this stage. As with step one, you can now delete the rejected files. Again taking William from 337 images down to just 190.
Now that you have a refined selection, it’s time to colour-label the remaining images. Again, you can choose your own system, but William chooses red for the best images and yellow for “maybe”. We’re curious to know what colour you would pick for your system. Tell us in the comments! This step is certainly subjective to you; some images naturally stand out in a sequence as being excellent, and others you may revisit later. When it comes to the yellow label for William, it’s simply images he can’t bring himself to delete just yet.
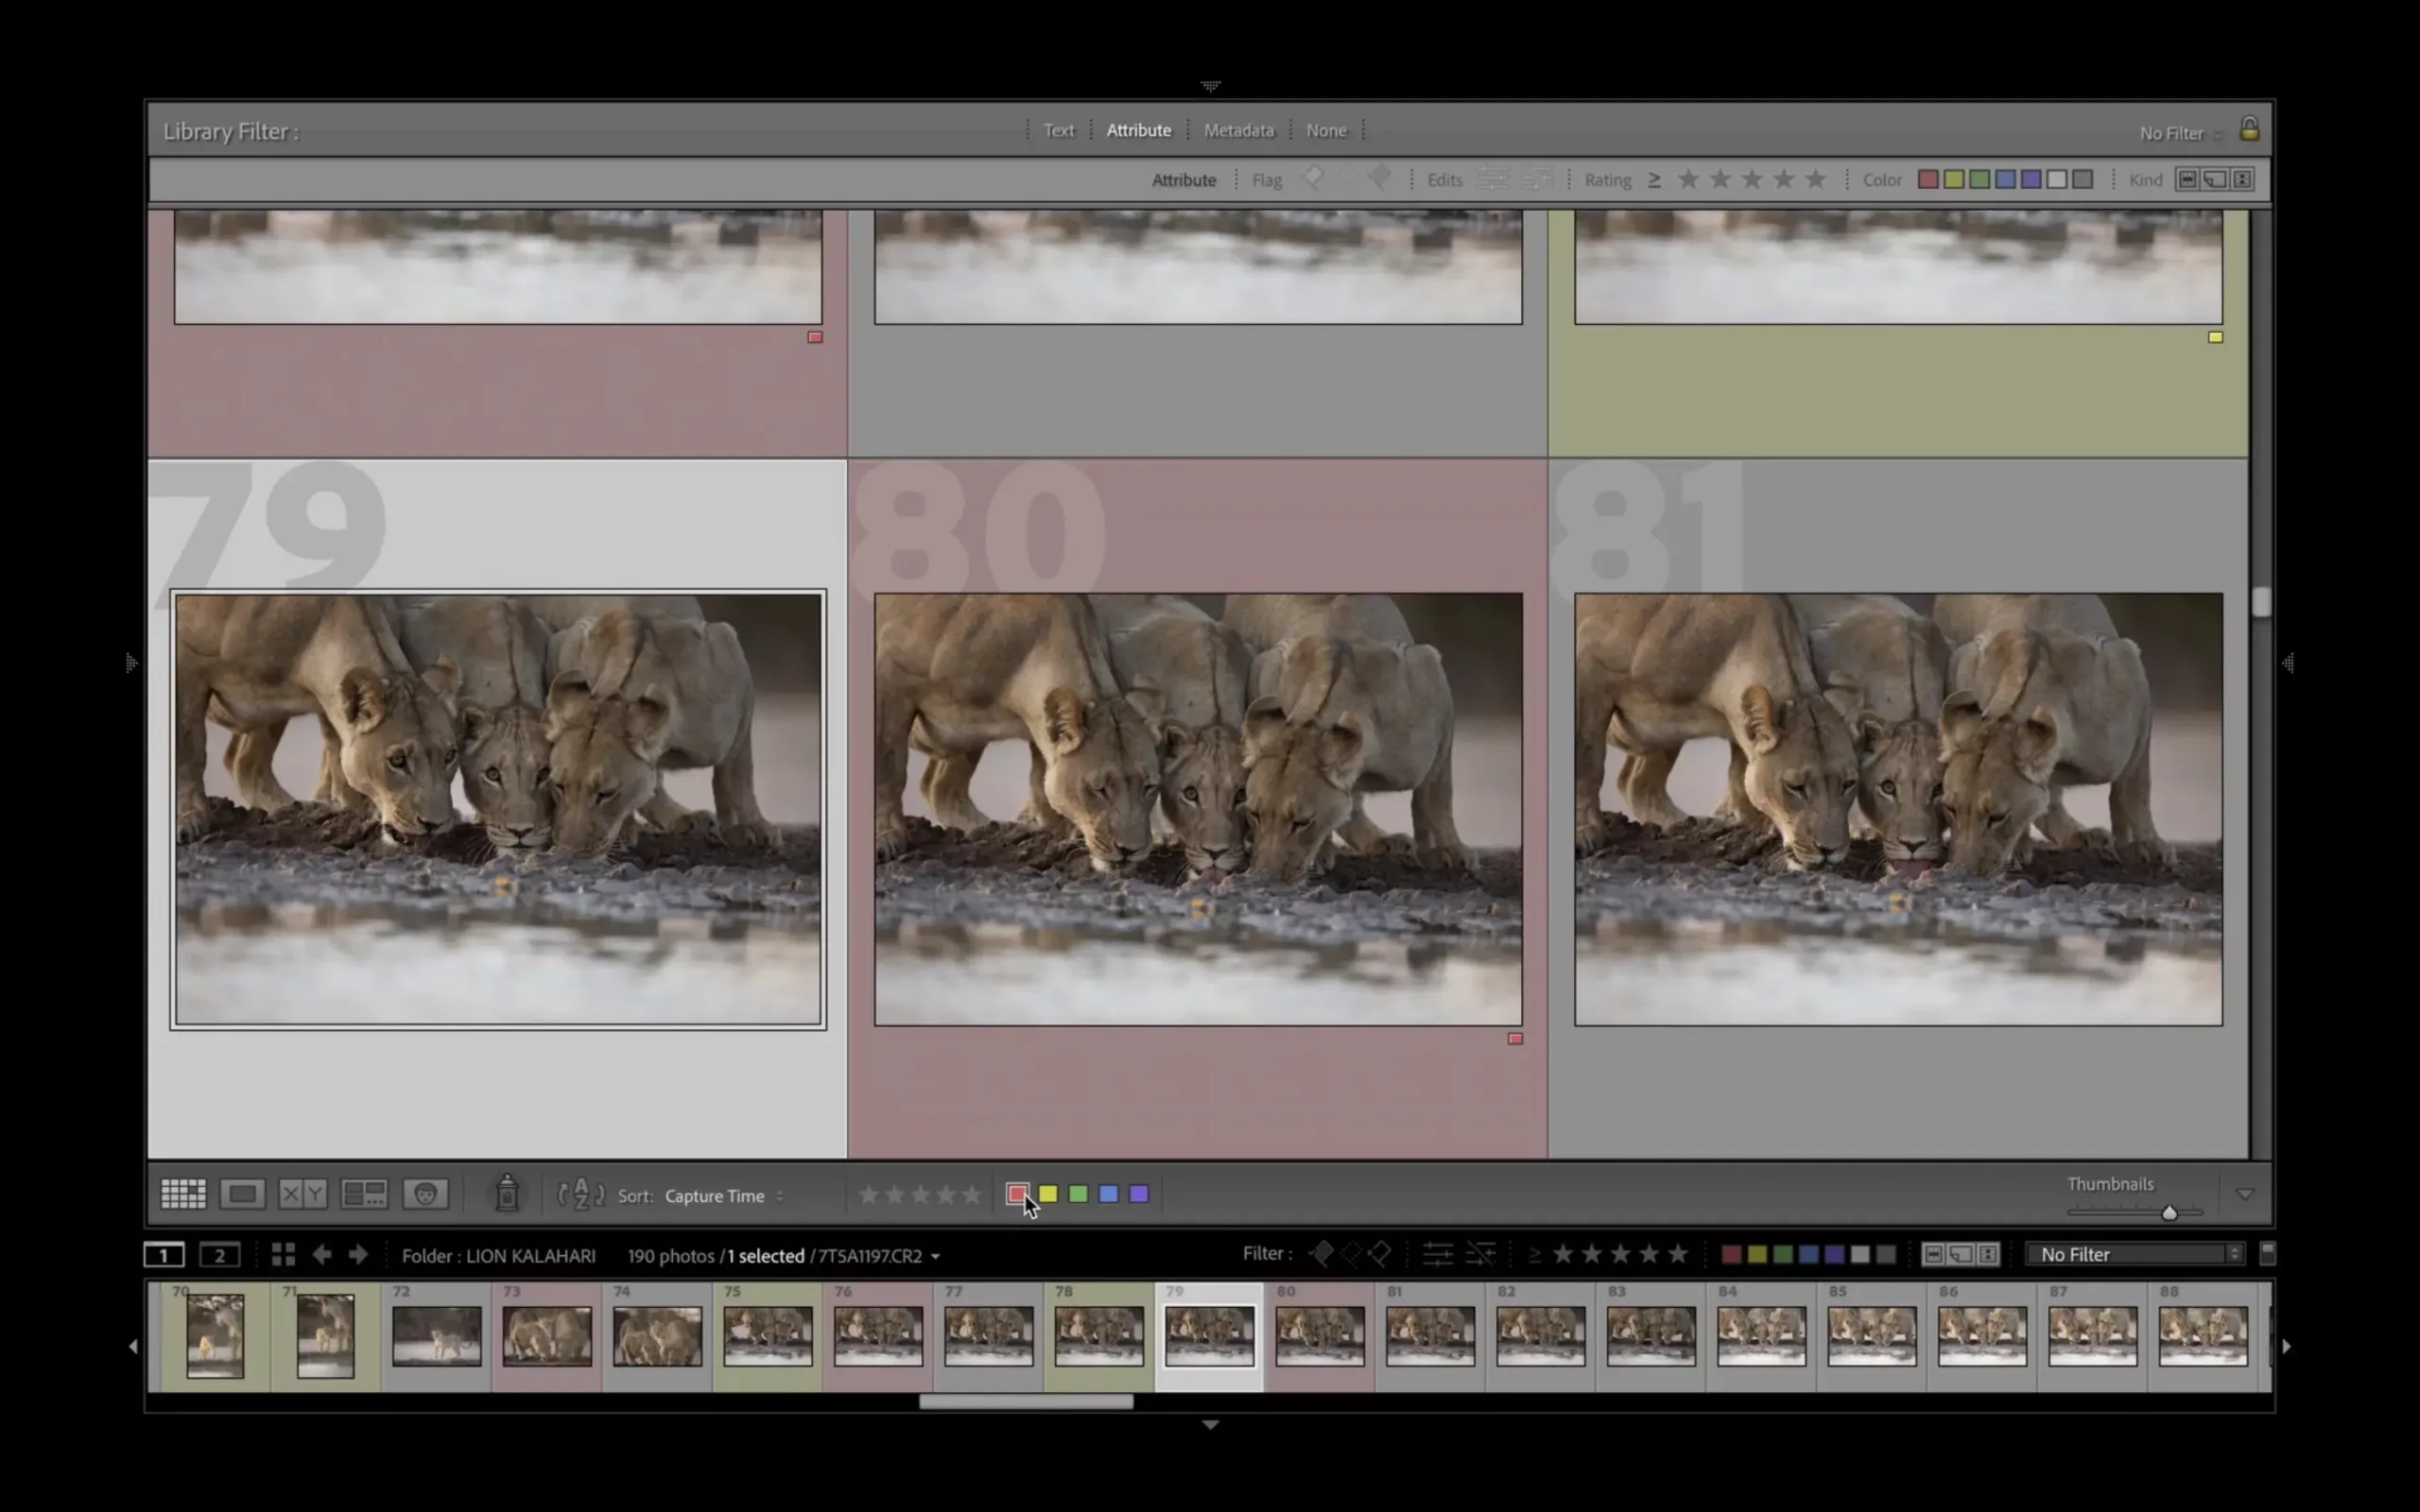
Through this process, you have reduced your selection from hundreds of images to just a handful of red-labelled and a few yellow-labelled images. William has further reduced his selection from 190 to 17 red-labeled images.
The smaller the selection, the harder it is to refine further. At this stage, you are no longer rejecting images but rating them. Not only does Lightroom have the option of colour rating but also star rating. Yet again, you can have your own rating system, but at this stage, William likes to go through the red-labelled images to find a handful of his favourites. Only giving five stars to images that really stand out to him.
In a short time, you should be down to single-digit images! William moves from 17 to just seven images here.
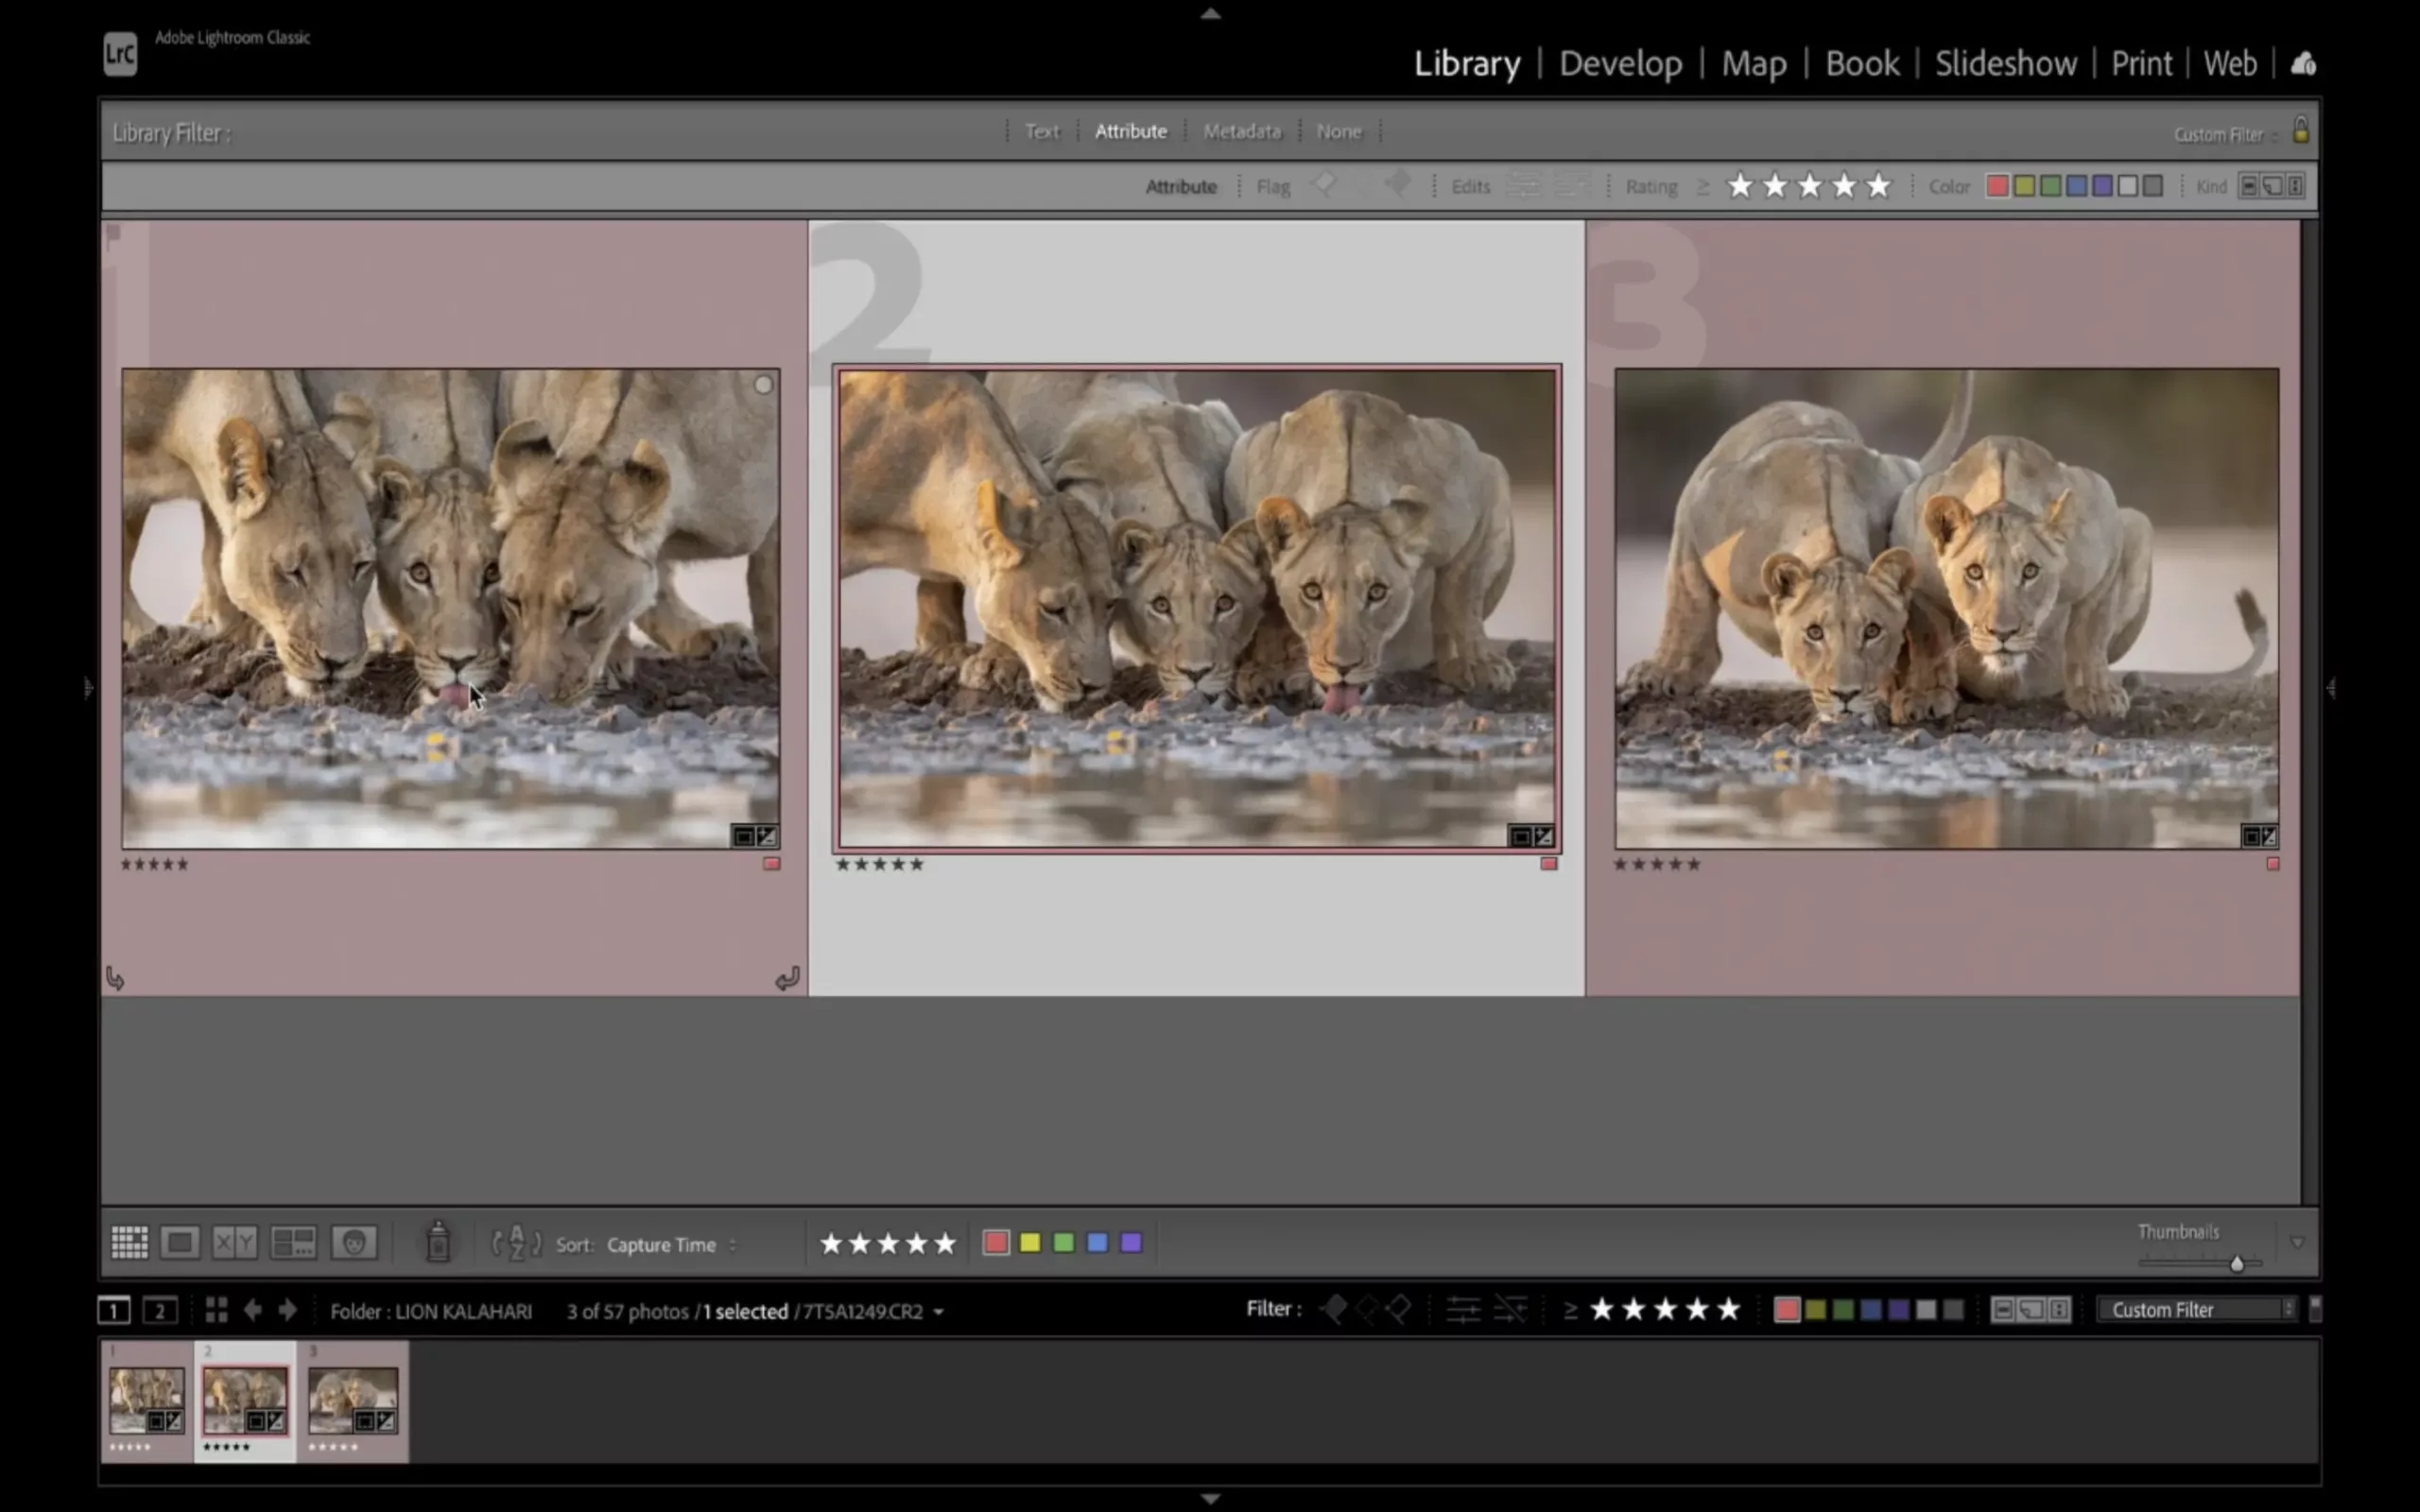
At this stage, you should really like your selection, and as a result, you can now go through and edit them all. In editing, William often finds flaws in some of the images he initially didn’t see while scrolling through them or, sometimes, he finds something he specifically loves in an image. This is not the final edit but simply a quick experiment to see what the images will look like with a little tweaking—for example, changing the crop of the image or increasing whites and playing with contrast and exposure.
This is where you can change your rating to four stars rather than the initial five – this way, you still have the four-star selection in your library, but it reduces the number of five-star images to edit. Now there are simply three images left to work with!
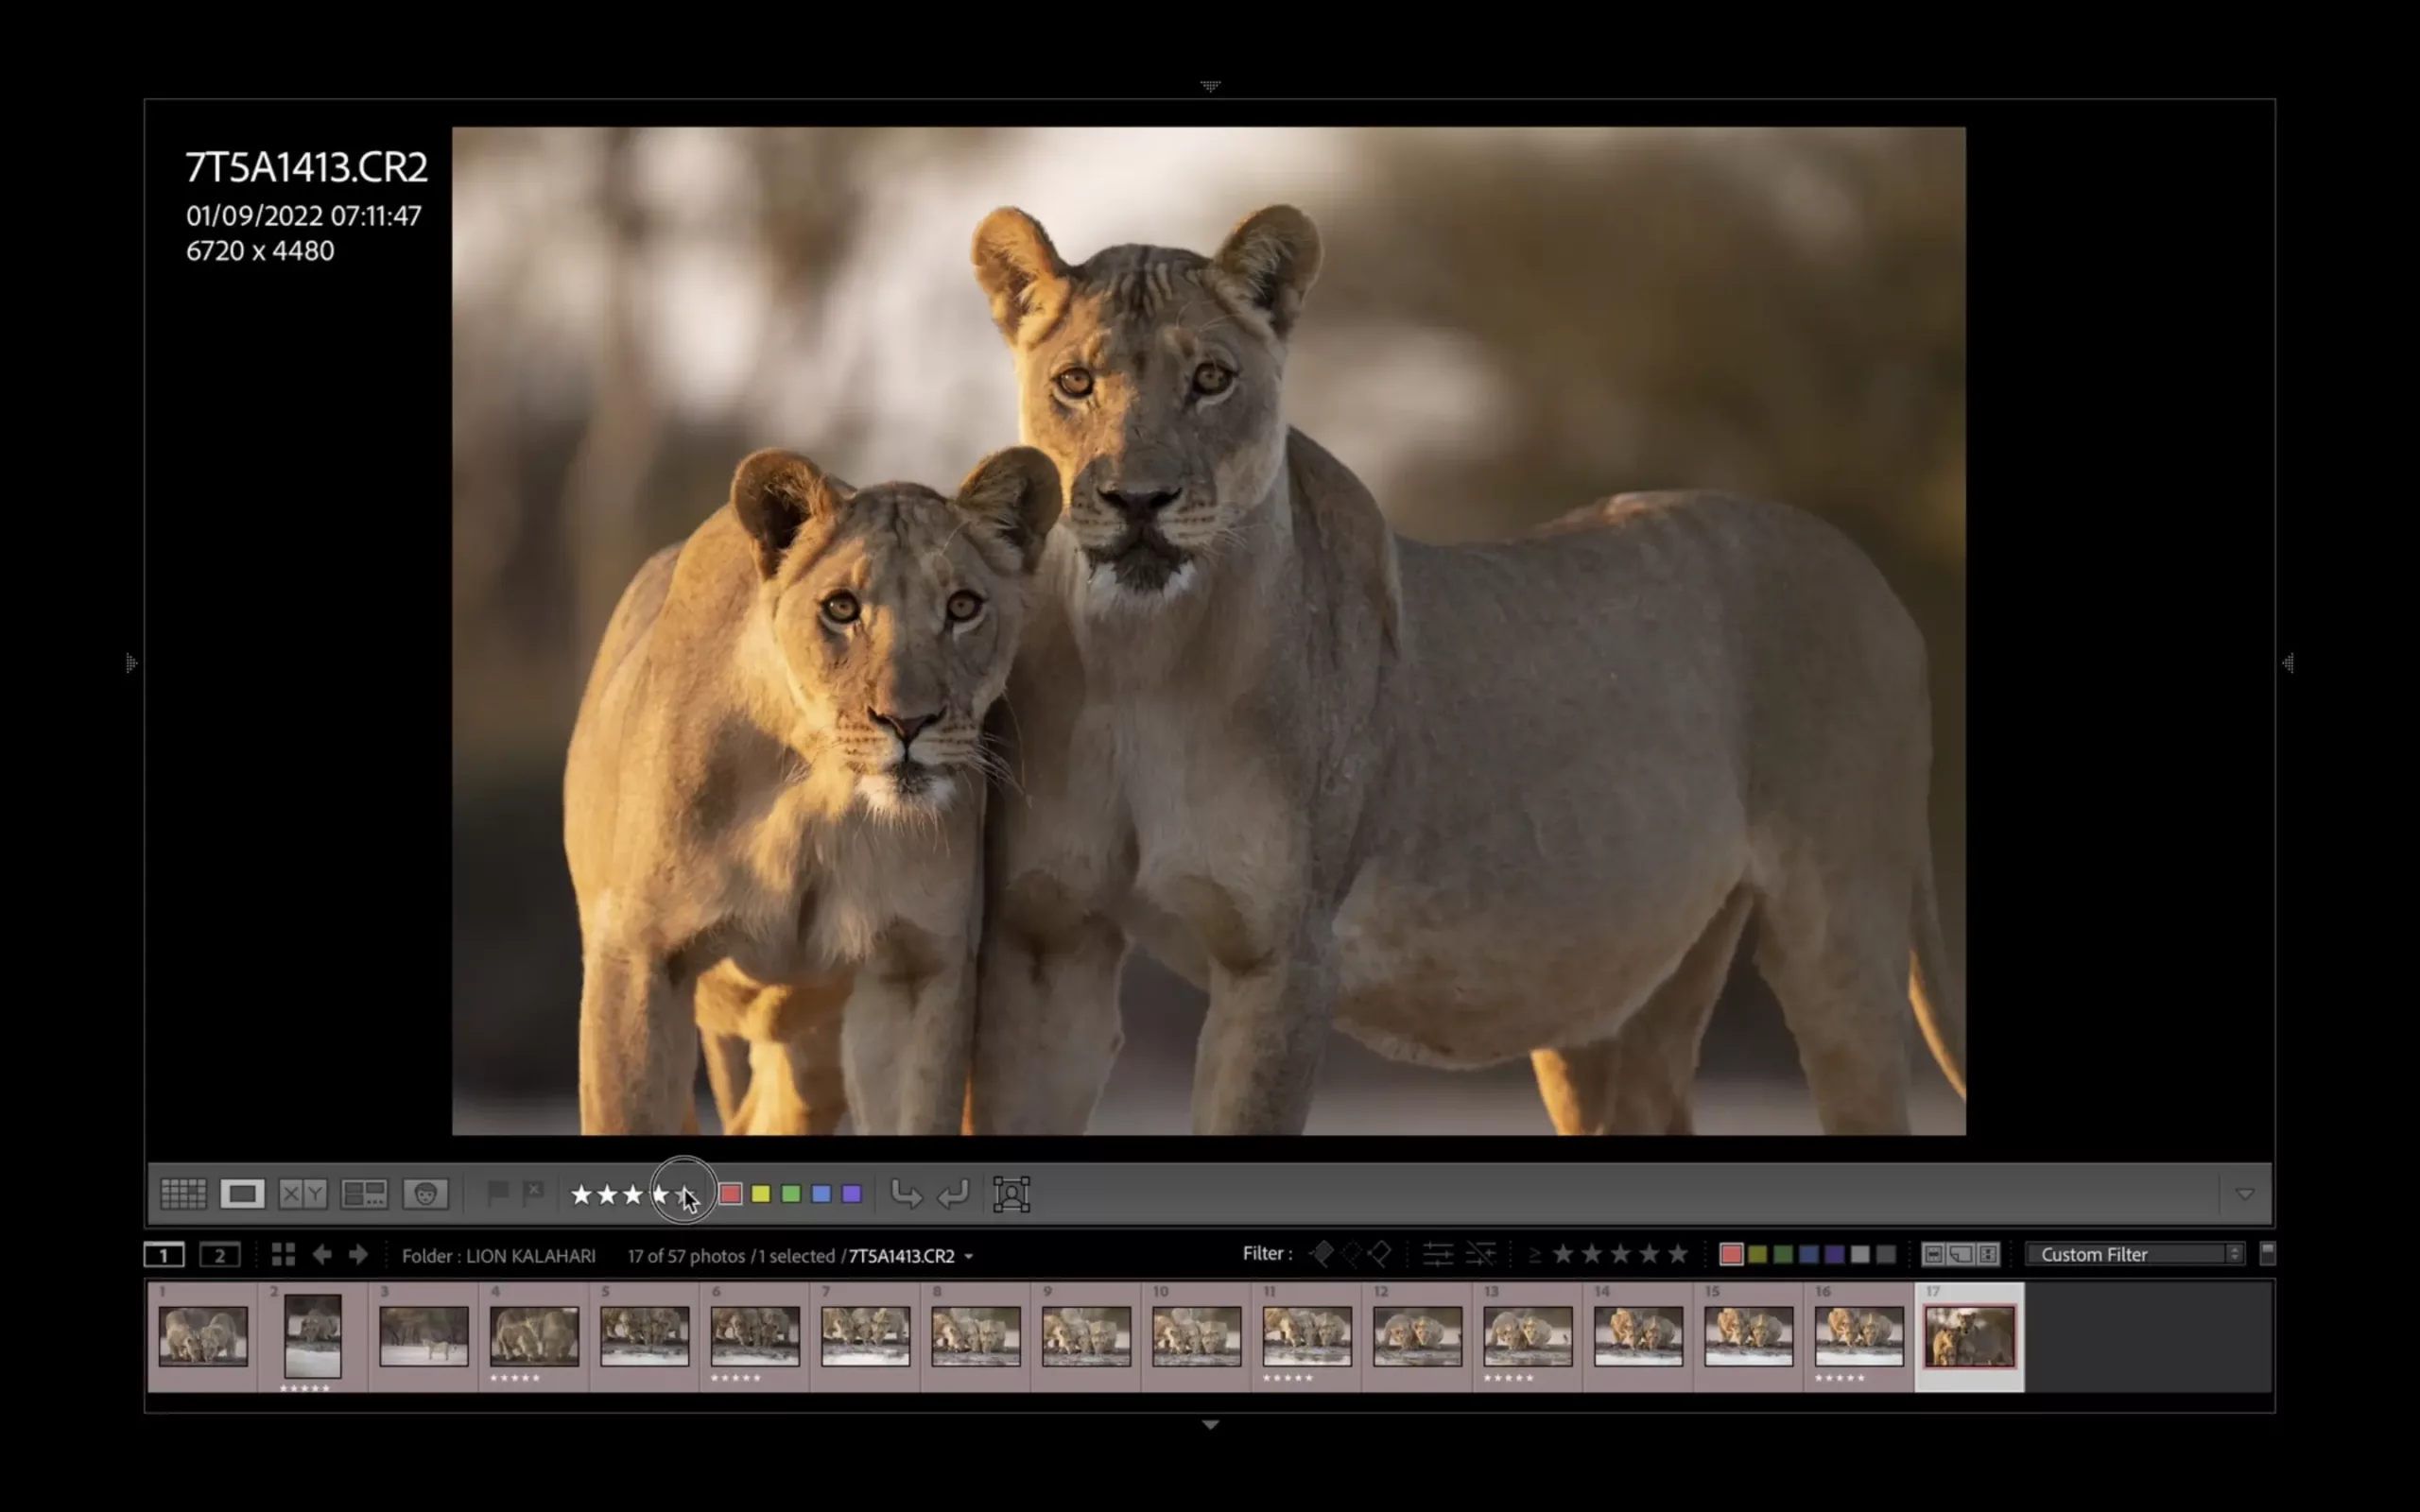
Next is where your own style matters. Whether it is just one or a handful of images, you will personally be drawn to some images more than others. Don’t ignore that; that is what makes your photography unique to you. Finally, you can do the full edit. Having narrowed hundreds of images to just one we love, it’s time to make it pop!
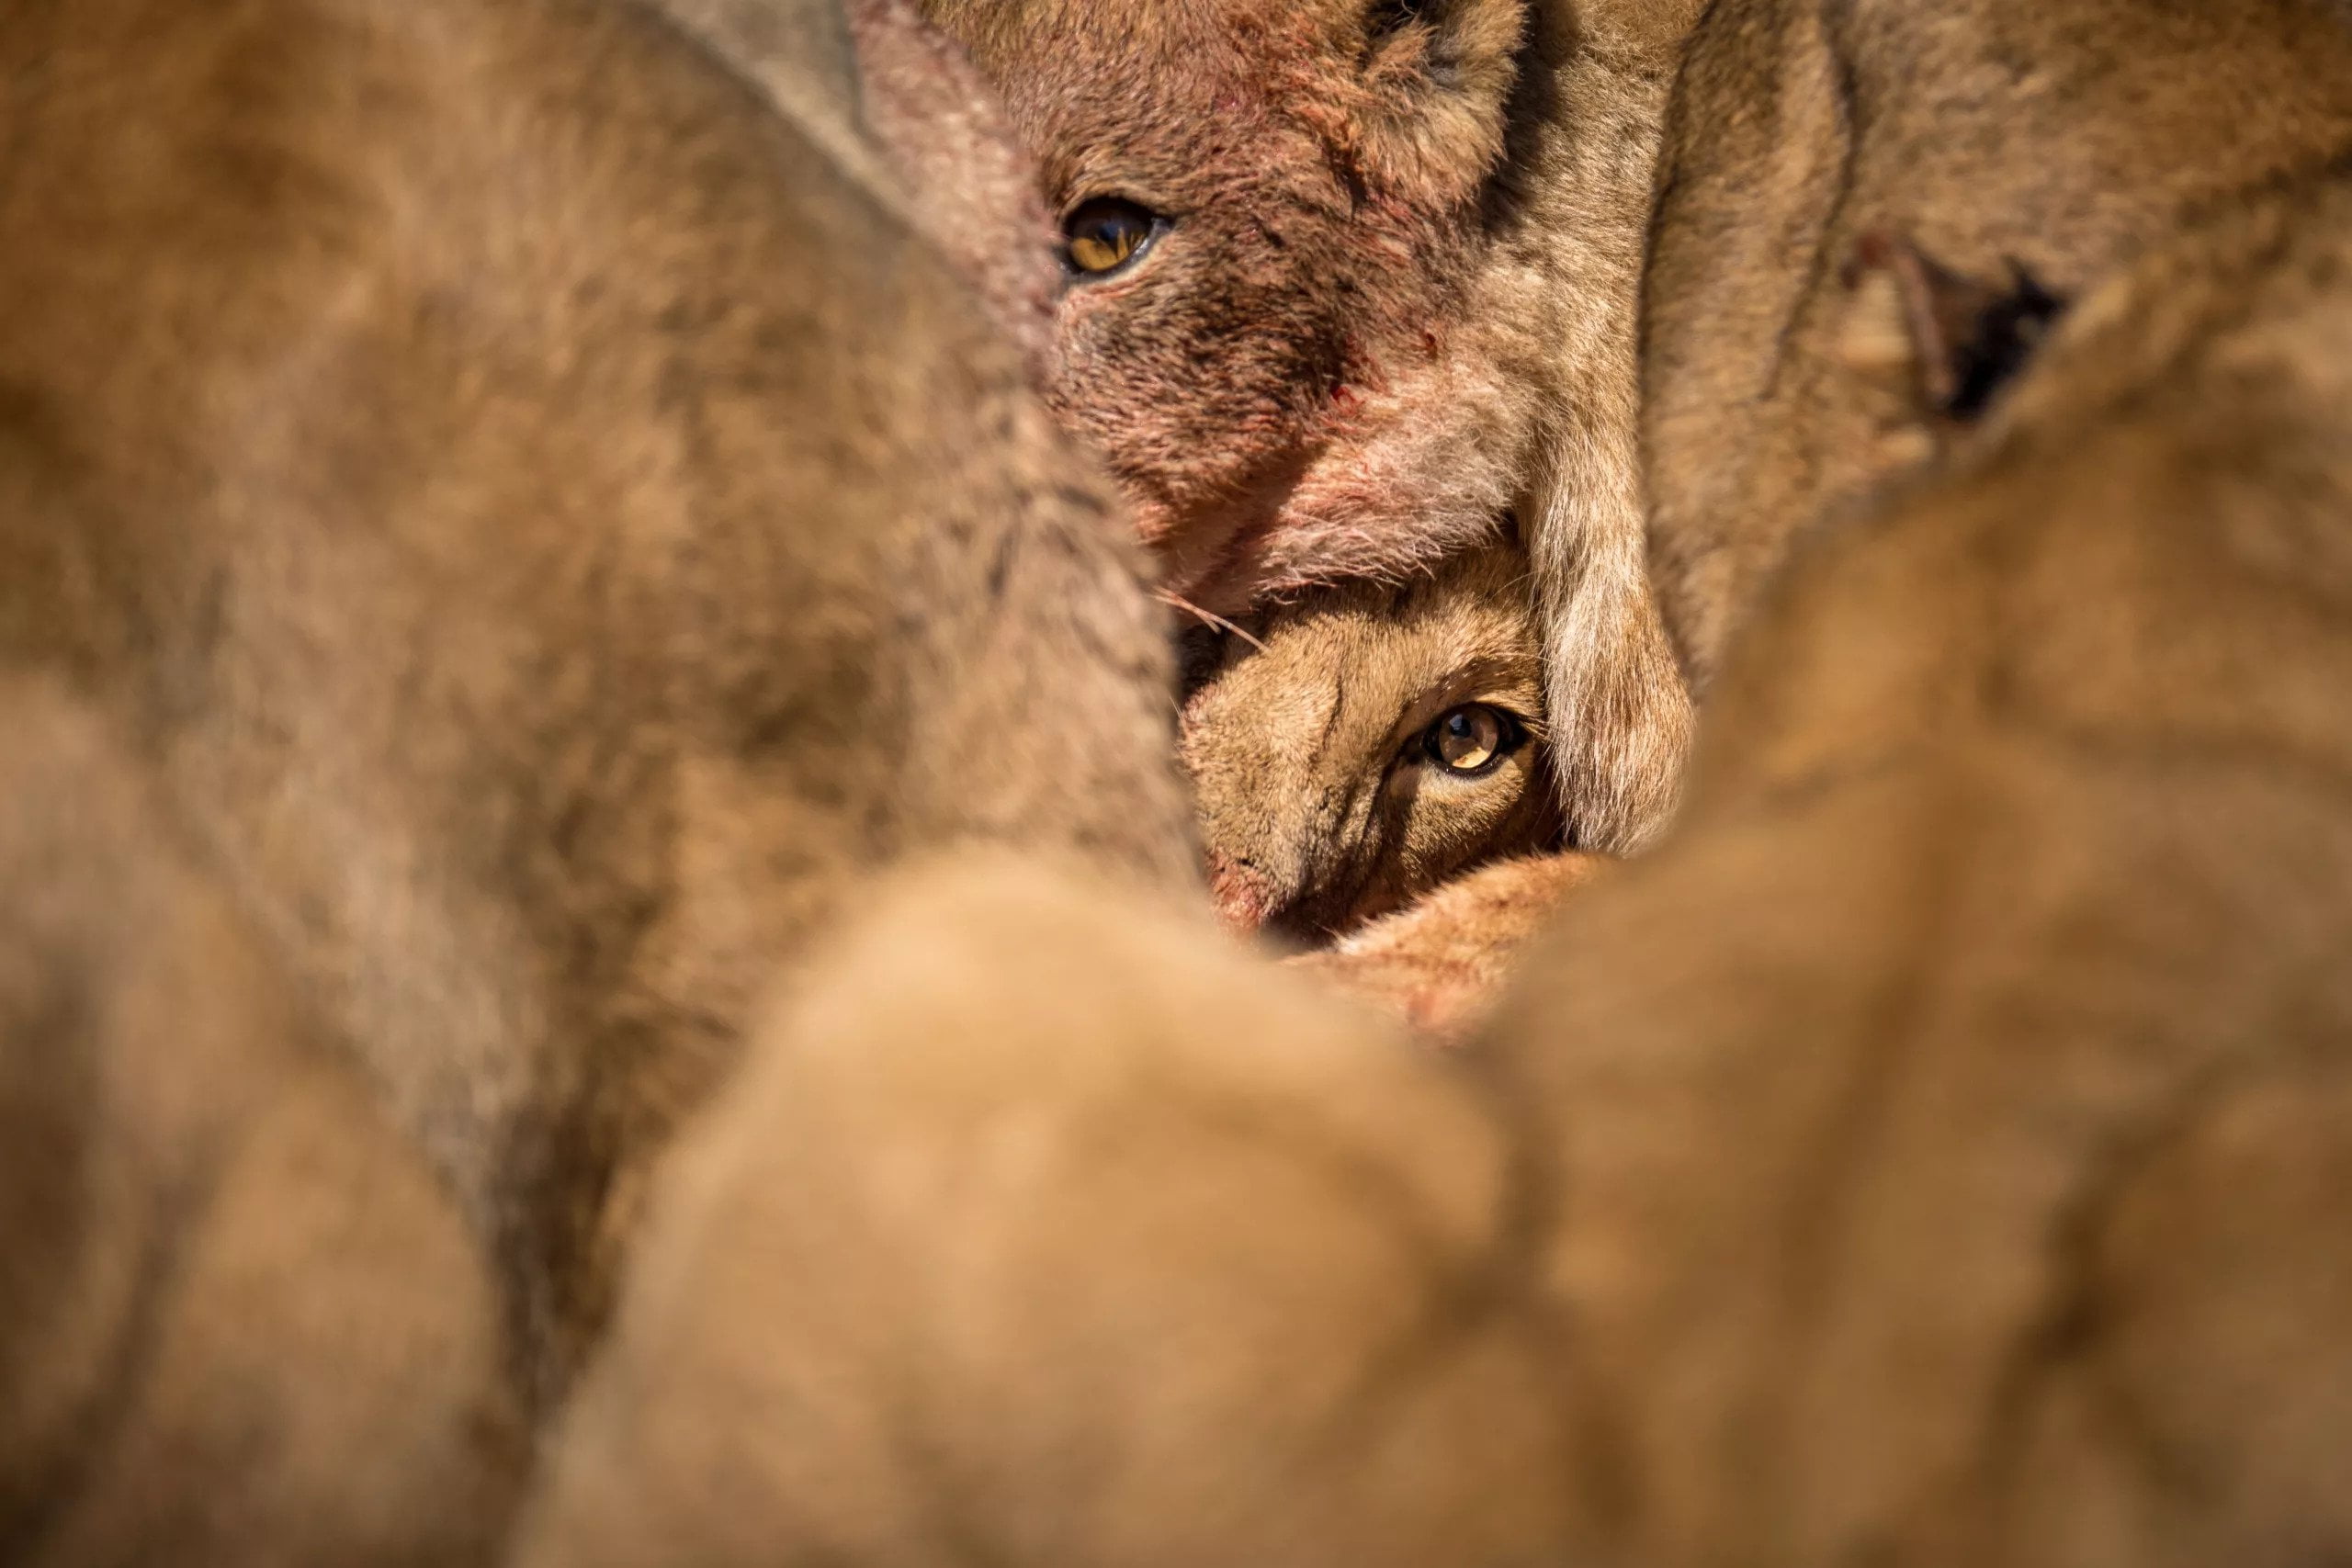
Through all these images, William had one that really stood out to him. It could be the eye contact of the lion or the composition, but the below image was his favourite from the sequence.

Stay tuned for William’s next video and blog, where he shows you how to edit that photograph for different purposes. Do you think that William made the right choice? Let us know in the comments below.





Leave A Comment